Last updated November 22, 2026
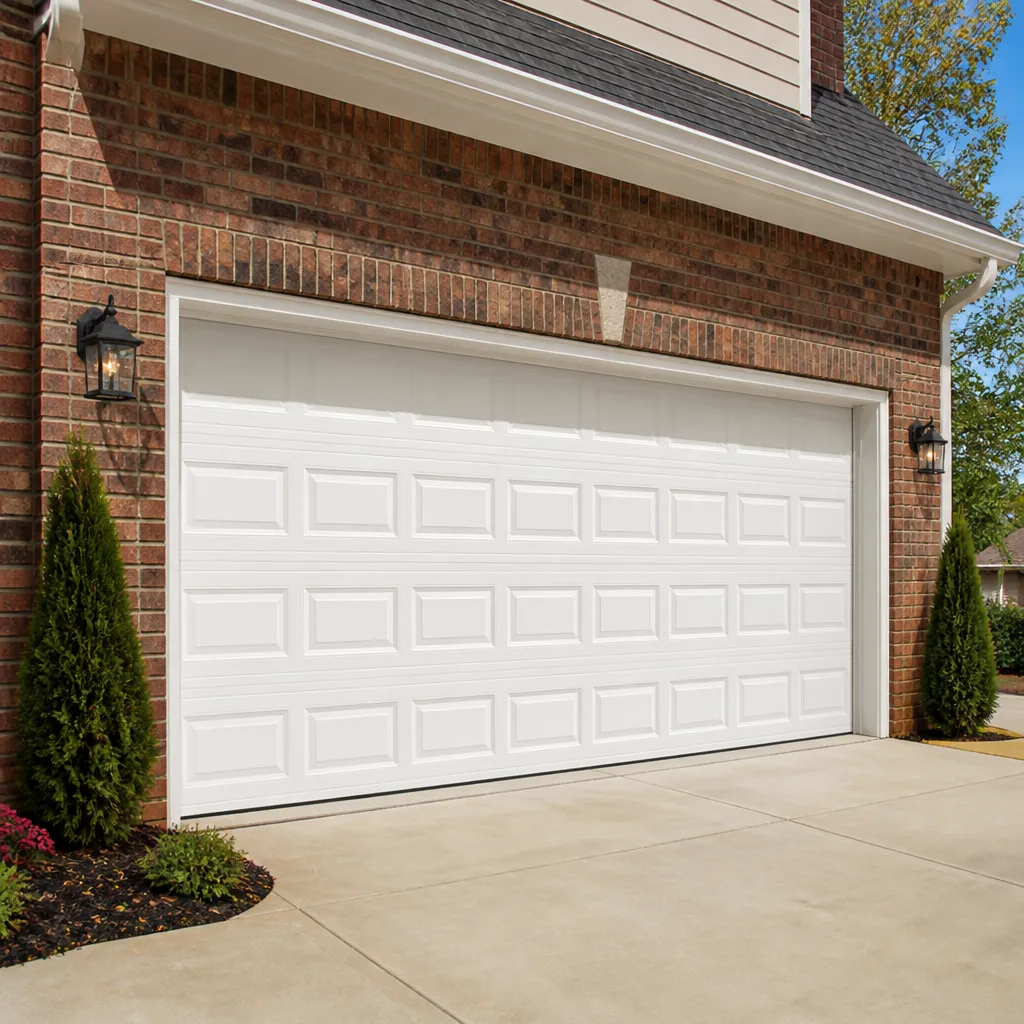 Raised-panel steel
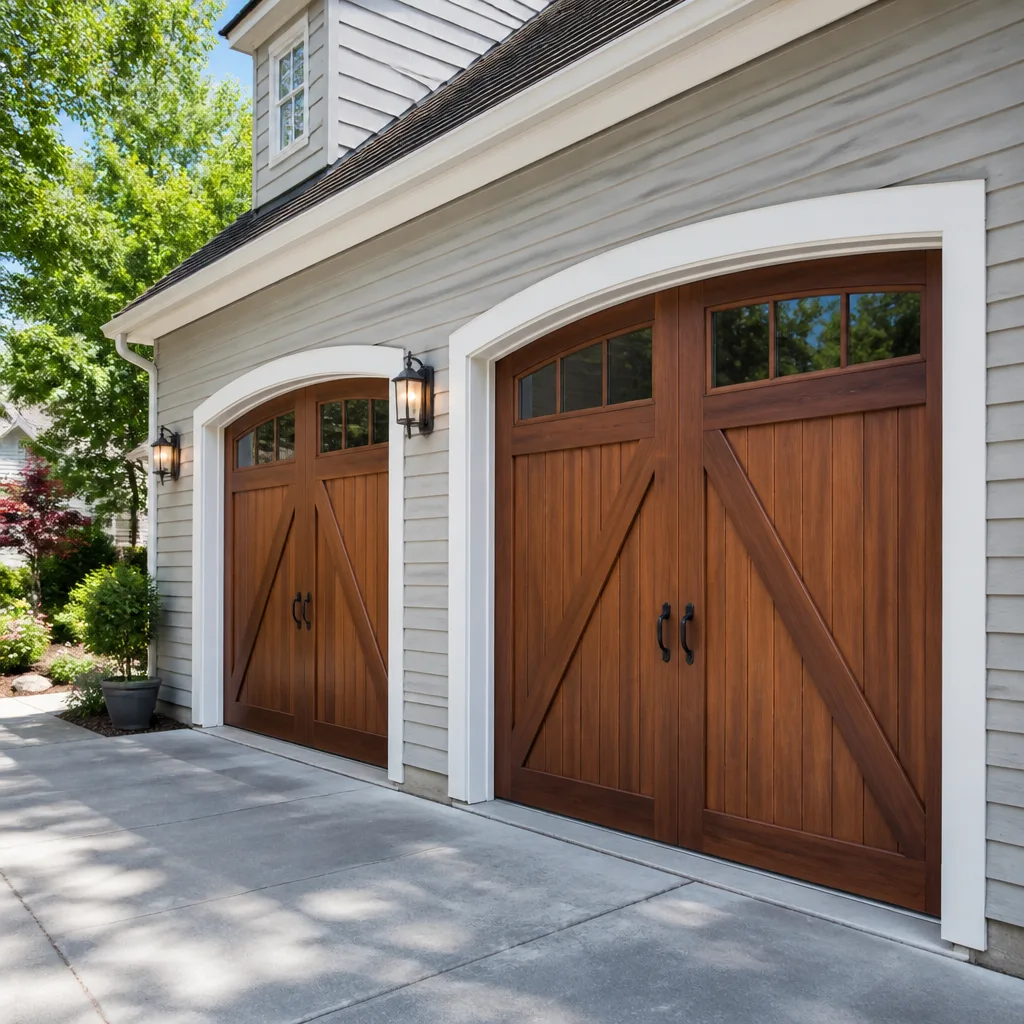 Carriage house
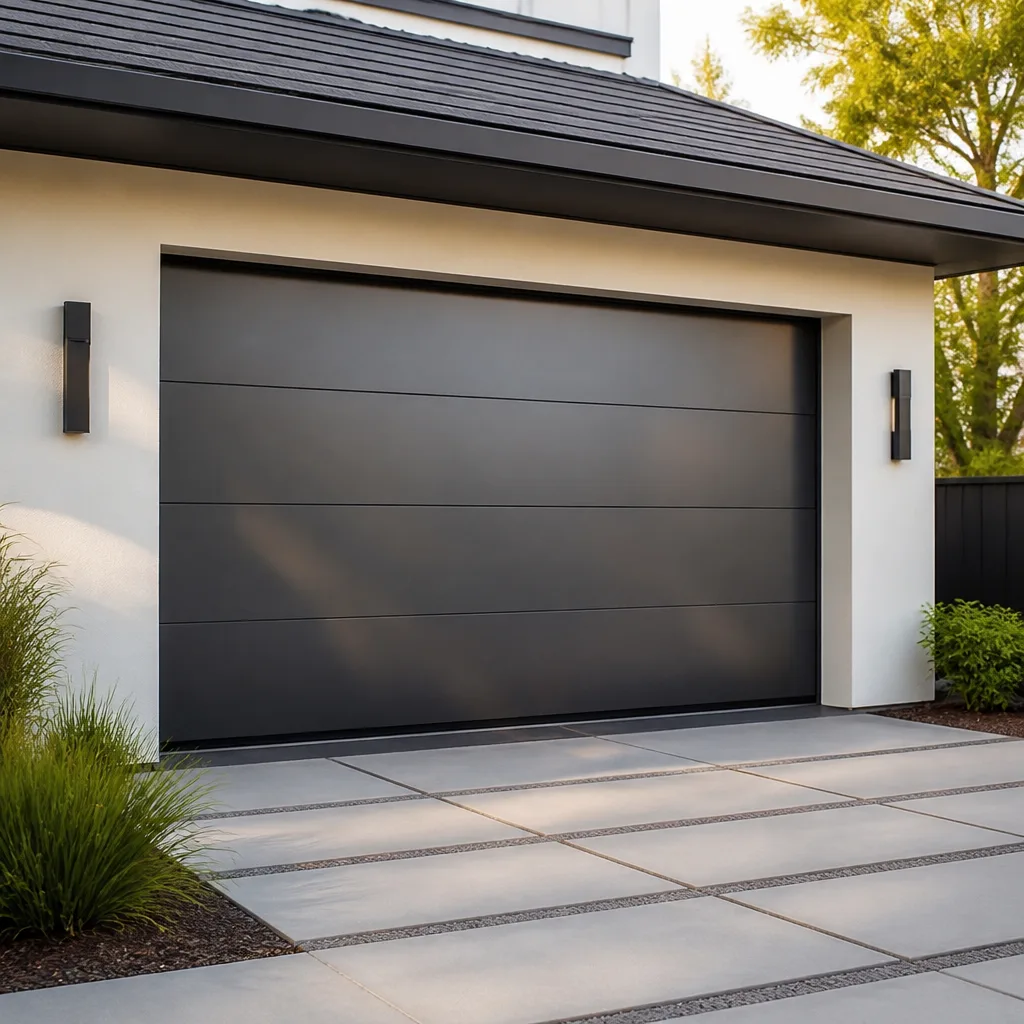 Modern flush
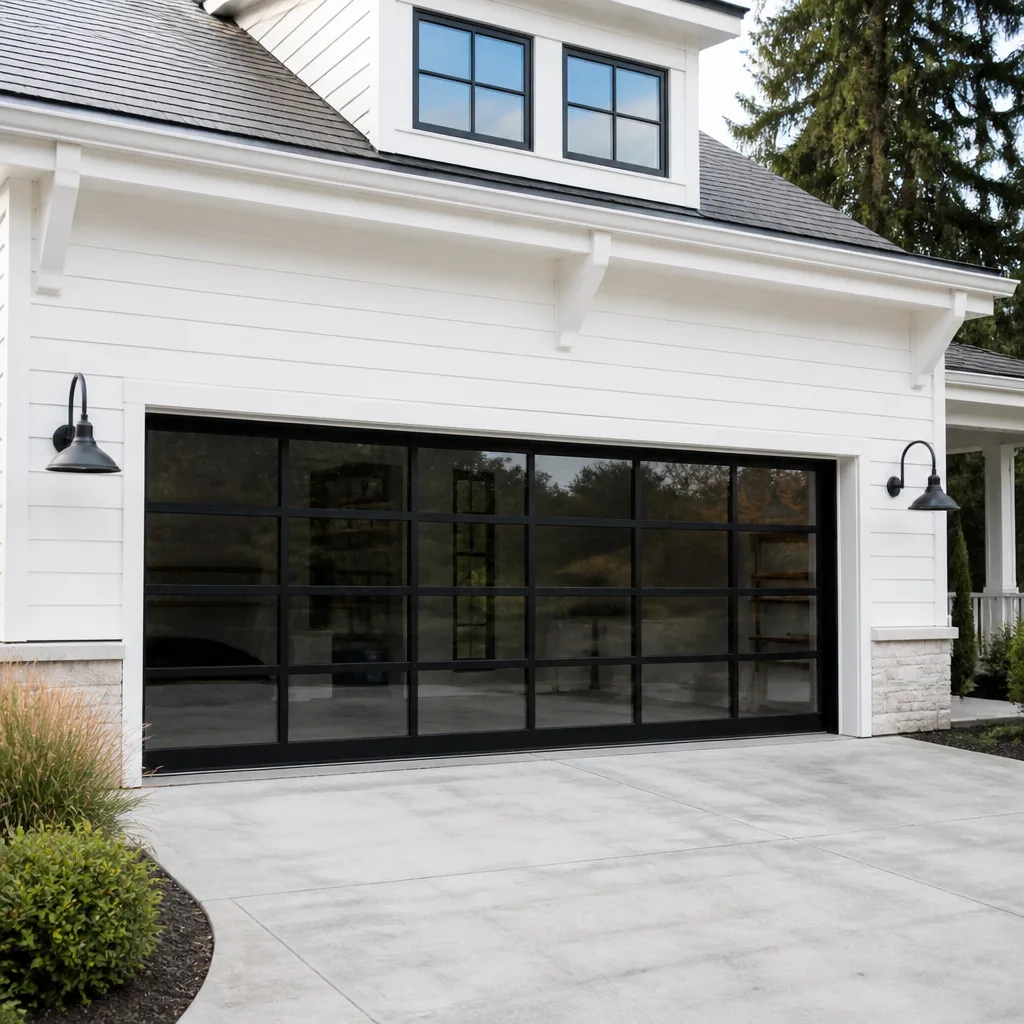 Full-view glass
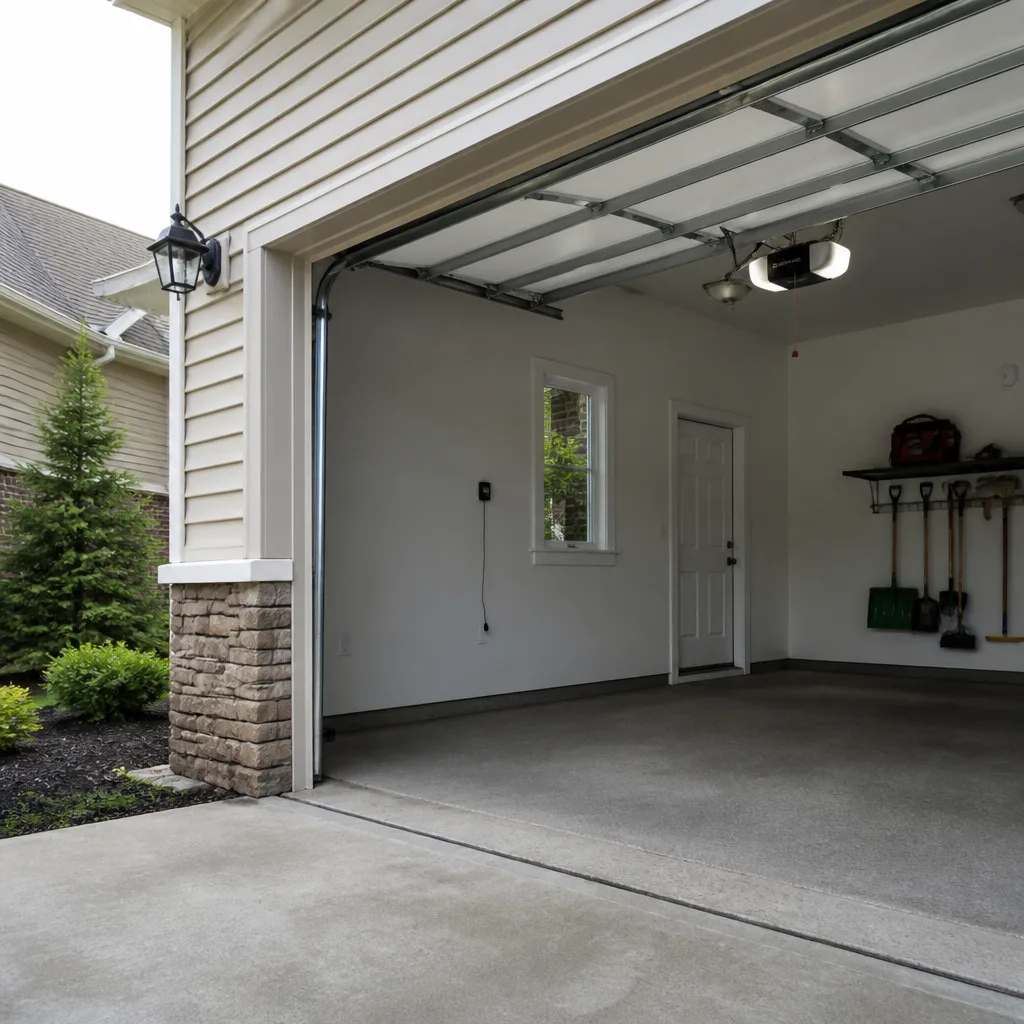 LiftMaster openers
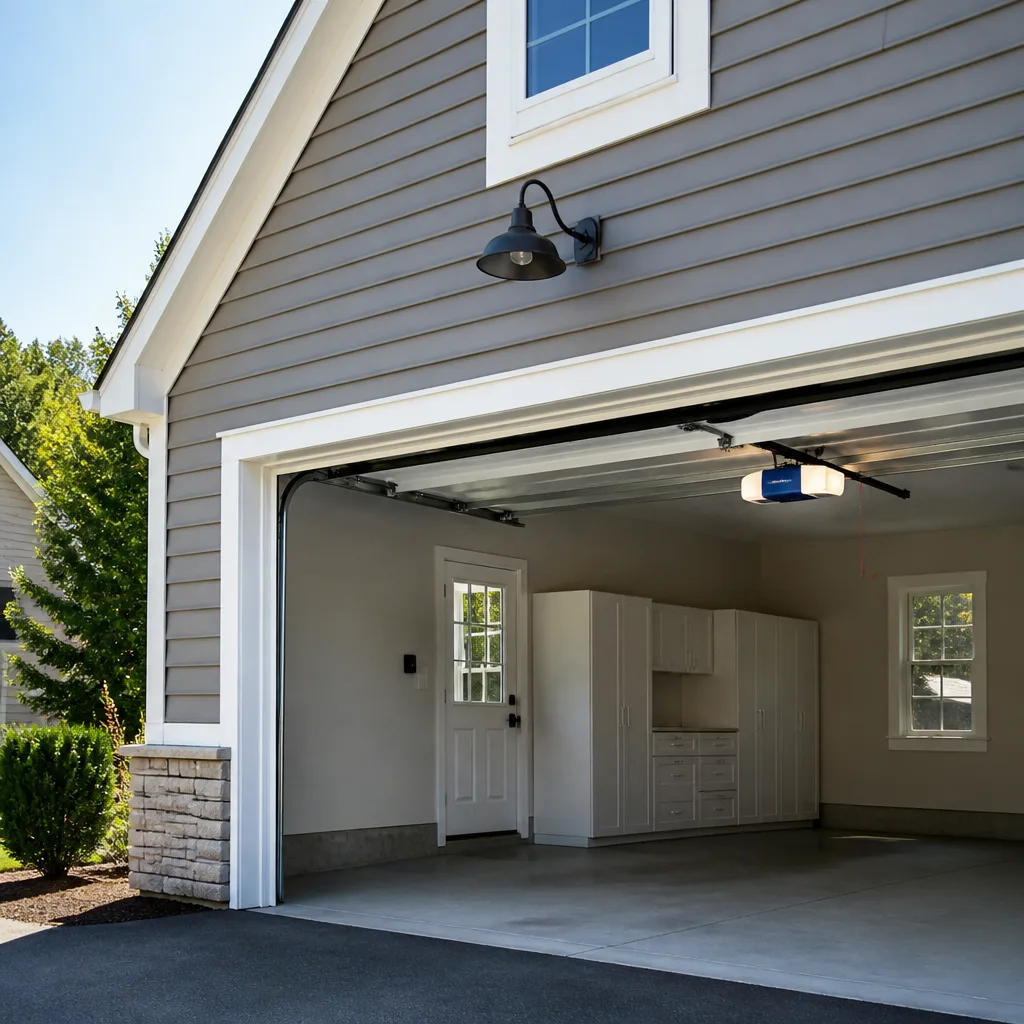 Chamberlain openers
Full 25-point door and opener safety check with every visit - springs, cables, rollers, tracks, and your LiftMaster or Chamberlain opener included
You get a price before we start. It does not change when the pro arrives.
Get your free estimateDIY vs Professional Garage Door: The Laurel Homeowner’s Decision Guide
Torsion springs store roughly 100 ft-lbs of torque when wound. That’s about the energy of a sledgehammer swung at full force, held in a steel coil the size of your forearm, a few feet above your car. The homeowners who end up injured aren’t usually the ones who didn’t know that. They’re the ones who knew it and underestimated what “one more quarter turn” actually meant. This guide draws the line between DIY and professional work at the component level, not the job level, because “fix my garage door” covers everything from spraying lubricant to disarming a wound spring, and those two tasks don’t belong in the same conversation. In Laurel, where Maryland licensing rules and PG County permit requirements add a legal layer on top of the physical risk, the choice matters more than a price tag suggests.
Quick Answer
Some garage door tasks are genuinely safe for a careful homeowner: weatherstripping, photo-eye alignment, lubrication, and remote reprogramming. Torsion springs, cable winding, and structural header assessment are not, and no tutorial changes that. In Laurel, electrical work tied to a garage door opener beyond a simple outlet connection generally requires a licensed contractor under Maryland code, so the real dividing line is component risk, not job size.
Styles & brands we work with
- Raised-panel steel
- Carriage house
- Modern flush
- Full-view glass
- LiftMaster openers
- Chamberlain openers
Table of Contents
- Why the DIY vs Professional Debate Gets Framed Wrong
- The Component-by-Component Breakdown
- Maryland Licensing: What the Law Actually Requires
- PG County Permits and Who’s Liable When DIY Fails
- The Real Cost Comparison Nobody Actually Runs
- How to Evaluate a Garage Door Tutorial
- Laurel’s Climate and Your Garage Door
- Common Mistakes to Avoid
- When to Call a Professional
Why the DIY vs Professional Debate Gets Framed Wrong
Most comparisons of DIY and professional garage door work come down to two columns: what the parts cost versus what the technician costs. It’s an honest question, but it’s the wrong one. The more accurate frame is risk-adjusted cost, because the components you’d save the most money on by doing it yourself are the exact components with the highest injury probability. The math changes completely when you factor in a hospital visit, a damaged door panel, or a callback repair after a spring job goes slightly wrong.
There are three broad categories of garage door work, and each carries a different risk profile:
- Low-risk, high-reward DIY: Weatherstripping, lubrication, photo-eye alignment, remote reprogramming, track cleaning. Very little injury probability. Save money here without hesitation.
- Medium-risk, situational: Track realignment, roller replacement, panel adjustment, opener mounting checks. Doable for a confident homeowner with the right tools, but mistakes can crack a panel or unbalance the door.
- High-risk, professional-only: Torsion spring replacement, extension spring replacement, cable winding, drum work, header assessment, and any work that leaves the door’s counterbalance system in a partially loaded state.
The trap is that category three feels like category two on video. A technician looks calm because years of training built a habit, not because the spring is forgiving. When we send a technician on a Laurel garage door spring repair call, the first stop before touching the torsion assembly is always the same: confirm door weight, confirm winding direction, confirm spring gauge. Those steps are boring. They’re also the ones a homeowner skips. When you hear a professional say a spring job is “one of the most dangerous repairs in the trade,” that’s not marketing. It’s the truth about stored energy.
The Component-by-Component Breakdown
Instead of deciding “should I fix my door or call someone,” decide per component. Most doors have six or seven distinct systems, and each has its own risk profile. Here’s the breakdown we’d give a neighbor in Laurel who asked us over coffee.
Genuinely DIY-Appropriate
- Weatherstripping and bottom seals: These slide into a track or nail into the frame. Minimal tools, low risk. Replace every few years or whenever you can see light under the door.
- Photo-eye alignment: The safety sensor near the floor. Cleaning the lens or gently adjusting the bracket so the LED stays steady is a ten-minute job. If the sensors are wired wrong or water-logged, that’s a different call.
- Lubrication: A garage door has hinges, rollers, and a torsion shaft that all benefit from a proper garage door lubricant (not WD-40) two or three times a year. This is the single highest-return DIY task on the entire door.
- Remote reprogramming: Pairing a new remote or wireless keypad to a LiftMaster, Chamberlain, or Genie opener is a button-press sequence documented in the manual. No risk.
- Visual inspection: Checking for frayed cables, stretched springs, loose hinges, worn rollers, and dents in the track. Look, don’t touch the torsion system.
Professional-Only
- Torsion spring replacement: The single riskiest repair in the trade. Winding bars, tension direction, and spring sizing all have to be exactly right before a door is safe to lift. Skip this one.
- Extension spring replacement: Less energy per spring than torsion, but a loaded extension spring can still throw a hook across the garage if it’s mishandled. Professional work.
- Cable winding and drum work: Cables run at thousands of pounds of tension on a standard residential door. Slipped cables are the second-most-common serious injury source after springs.
- Header and structural assessment: If the door frame looks sagging, cracked, or out of square, you need someone who can tell the difference between a door problem and a house problem. That’s not a homeowner’s call.
- Opener electrical work beyond a simple plug: Covered in the next section, but the short version is that anything involving new wiring from the panel up to the ceiling unit is licensed work in Maryland.
If we had to draw one line in the sand for Laurel homeowners, it’s the spring system. Every part of a counterbalance assembly is designed to store energy, and every part of it is unforgiving of a mistaken quarter turn. That’s why we treat spring repair as a dedicated service rather than a generic add-on to garage door repair: it’s a different discipline, not a different item on a punch list.
Maryland Licensing: What the Law Actually Requires
Maryland doesn’t require a license for garage door repair generally, but it does regulate certain work around the door, and homeowners in Laurel should know which tasks cross that line. The dividing line is electrical. Anything involving a new branch circuit from your panel to the opener, added outlets, or rewiring that runs through your walls falls under Maryland’s electrical licensing rules and requires a licensed electrician. That’s the state’s rule for electrical work, and it applies whether the work is for a garage door opener or a ceiling fan.
What doesn’t typically require an electrician:
- Plugging a new opener into an existing dedicated outlet
- Reprogramming a remote, keypad, or HomeLink button
- Replacing the opener’s battery backup
- Adjusting the opener’s force or travel limits through the control panel
What does, in nearly every case:
- Running a new circuit from the breaker panel to the garage ceiling
- Adding an outlet where none exists
- Replacing damaged wiring inside a wall or conduit run
- Installing a surge protector that ties into the panel
When a homeowner in Laurel calls us because a LiftMaster or Genie opener has gone quiet, one of our first diagnostic questions is whether the outlet has power. If the outlet tests dead, we hand the job to an electrician, because we’re garage door specialists, not electricians, and pretending otherwise would be a disservice to the customer. If the outlet works fine and the issue is inside the opener itself, that’s our work. When we dispatch on garage door opener repair, we work on the brand already on your home; there’s no need to swap in unfamiliar equipment just to get the fix.
PG County Permits and Who’s Liable When DIY Fails
Whether a garage door repair or replacement requires a permit in Prince George’s County depends on the scope of work, and the county’s permit office is the right authority to check before you start. As a general guide, a straight spring or opener repair typically doesn’t trigger a permit, but a full door replacement, structural modifications to the header, or anything that changes the opening’s dimensions usually does. Homeowners in Laurel who plan to self-install should call the county directly and ask for the scope in writing before touching a screwdriver.
Here’s the part most DIY guides skip: liability. If a homeowner self-installs a garage door and the installation later fails inspection, or the door comes off its track and damages a vehicle or injures someone, the homeowner is on the hook for it. That includes:
- Insurance denial risk. Many homeowner policies require that certain structural work be done by a licensed contractor. If a claim arises from DIY work that violated that clause, the insurer may decline the claim.
- Resale disclosure. Unpermitted structural work typically has to be disclosed during a home sale, and buyers’ inspectors find it.
- No warranty recourse. If a self-installed door fails under the manufacturer’s warranty, the manufacturer can decline to honor it because the door wasn’t installed to spec. Clopay, Amarr, Raynor, and Wayne Dalton all publish specific installation requirements their warranties hinge on.
- Injury liability on your own property. If a guest, contractor, or family member is injured by a DIY installation that failed, that’s a personal liability exposure with no contractor to point to.
None of this is meant to scare a homeowner out of a weatherstripping swap. It’s meant to make the stakes clear for the work that actually carries them. A permitted, professionally installed door comes with a paper trail, a warranty, and a clear responsible party. A DIY install that skips the permit has none of those.
The Real Cost Comparison Nobody Actually Runs
The usual cost comparison looks like this: springs cost $X from a parts supplier, a technician costs $Y, so the savings must be $Y minus $X. In reality, the true DIY cost includes five things that rarely make the list: contractor labor you skip (the obvious one), the tools you have to buy, the time you spend, the probability of a callback repair, and the risk-weighted cost of injury. Add those up and a DIY spring job on a standard Laurel door often comes out closer to the contractor price than the headline number suggested, and occasionally above it.
Here are the rough component costs for a standard residential torsion spring job, framed as estimates:
- Replacement springs (matched pair), parts cost: $60 to $140 typical for a standard residential pair
- Winding bars and spring pull tools: $40 to $90, and they’re not reusable for most homeowners
- Safety glasses, gloves, and a quality ladder if needed: $50 to $120
- Time cost: two to five hours for a first-time DIY replacement, versus roughly 60 to 90 minutes for an experienced technician
- Callback probability: meaningfully higher on a first-time spring job than on a professional install, because door balance and spring tension are tuned, not just installed
- Risk-weighted cost of injury: not a number most homeowners want to run, but the one that should matter most
Compare that to a professional quote and the honest picture is that DIY saves something in the neighborhood of a couple hundred dollars on parts alone, but the savings evaporate fast if any single thing goes wrong. And on a torsion spring, “goes wrong” usually means a callback to fix what the first attempt left unbalanced, or worse. The written estimate is the price; when a Laurel homeowner hires us, the number they agree to before work starts is the number they pay. No surprise invoice after the fact. When the conversation is about Laurel Garage Door Repair Pros, that transparency is the whole point.
How to Evaluate a Garage Door Tutorial
Tutorials are where the DIY decision often gets made, and tutorials vary enormously in quality. A calm, well-lit video can still be dangerously wrong. Three technical indicators reliably separate actual technician content from content creator content, and knowing them is worth more than any single video.
Indicator 1: The Safety Gear and the Angle
Actual technicians wear safety glasses on camera during any work on a wound spring, and they set the camera so you can see exactly where the winding bars are entering the cone. A content creator often wears gloves and no eye protection and films from a flattering angle that hides the winding tool. The angle isn’t aesthetic. It’s the difference between “the technician can verify the tension” and “the technician needs you to not see the tension.”
Indicator 2: They Talk About Spring Sizing, Not Just Springs
A real spring video explains inside diameter, wire gauge, and length, and it warns you that swapping a spring without matching all three is the most common way a door ends up unbalanced. A creator video usually treats “spring” as a single generic part and never touches sizing. If the video says “just get a spring of the same color,” that’s a red flag, because color codes are a starting point, not the sizing.
Indicator 3: They Show the Door Balance Test Before and After
The balance test is the technician’s own quality check: disengage the opener, lift the door halfway, and let it go. A door that stays put is balanced. A door that drops or rises isn’t. Any tutorial that doesn’t show a before and after balance test is skipping the only real proof the repair worked. That applies whether the video is about springs, cables, or opener adjustments.
Why It Matters
A bad tutorial about painting a hallway costs you a weekend. A bad tutorial about a torsion spring costs you fingers or an ER copay. When in doubt, assume the video is content until the gear, the sizing details, and the balance test prove otherwise. If it’s short on any of those, close the tab and call a specialist.
Laurel’s Climate and Your Garage Door
Laurel sits in a Mid-Atlantic climate band that swings hard across the year: hot, humid summers, cold winters, and plenty of freeze-thaw cycling through the colder months. That cycle matters to your garage door in ways most DIY guides never mention. Metal expands and contracts with temperature. Wood components in older doors swell and dry. Seals harden. Springs get cycled through their full range of extension many more times per year than the same door in a milder climate, which means spring fatigue shows up earlier on average.
What this means for the DIY decision:
- Weatherstripping wears faster here than in uniformly mild climates, which pushes it into a replace-every-couple-of-years category rather than a decade-long one. Good news: still a solidly DIY task.
- Springs see more cycles per year, which is why many Laurel garage doors hit their spring replacement window earlier than the “average” quoted by national guides. That’s not a sales pitch, it’s the local pattern.
- Wooden doors on older Laurel homes need seasonal checking for swelling and hardware loosening. Visual inspection is free and worth doing twice a year.
- Opener rails can get slightly out of alignment after a summer of thermal expansion and a winter of contraction. That’s usually a minor adjustment, not a replacement.
If you’re not sure whether your door’s symptom is seasonal or structural, that’s a good moment to have someone put eyes on it. Our technicians have up to 10 years of experience with the freeze-thaw behavior of doors in this area, and they’ll tell you honestly if what you’re seeing is normal wear or a fix that’s due.
Common Mistakes to Avoid
- Assuming “YouTube made it look easy” means it is easy. Spring replacement on camera hides the tension, the wrong-tool risk, and the balance test. The video is edited. The spring isn’t.
- Skipping the balance test. Almost every wobble, noise, and premature opener failure traces back to a door that isn’t balanced. If a repair ends without a balance test, it isn’t finished.
- Using WD-40 instead of a real garage door lubricant. WD-40 is a solvent, not a lubricant, and it strips the factory grease off hinges and rollers. Use a proper garage door lube on hinges, rollers, and the torsion shaft.
- Mounting a new opener without checking the outlet’s dedicated circuit. Laurel homes with shared garage circuits can brown out an opener’s logic board and cause it to shut off mid-cycle. Verify the circuit before blaming the opener.
- Doing electrical work without a Maryland-licensed electrician. Running a new branch circuit from the panel is licensed work, and doing it yourself may void your homeowner’s insurance coverage for any resulting claim.
- Self-installing a new door on a header that wasn’t checked. A Clopay or Amarr door ordered to spec won’t sit right on a sagging header. Skipping the structural check is where DIY installs go wrong most often.
- Ignoring a frayed cable because the door still opens. Cables usually fail under load, not at rest. A frayed cable that’s still working is one cycle away from being the reason the door suddenly slams.
When to Call a Professional
Call a professional when the task is on the high-risk side of the component line: any torsion or extension spring work, any cable winding, any header assessment, any electrical run from the panel, and any door that’s out of balance or making a sound it didn’t used to make. Call us when the door won’t open, the spring is visibly broken, or the opener is running but the door isn’t moving. Those are all situations where a competent technician saves time, avoids injury, and leaves a door that will still be balanced next month. If it’s a weatherstripping swap or a remote reprogramming, do it yourself with our blessing.
Laurel Garage Door Repair Pros offers free estimates in Laurel; call (855) 337-2016 for a quote before you commit to a repair or installation. Our technicians work on the brand you already have, from Raynor and LiftMaster openers to Chamberlain and Genie systems, and we’ll tell you plainly whether you’re looking at a DIY job or a call.
See the difference
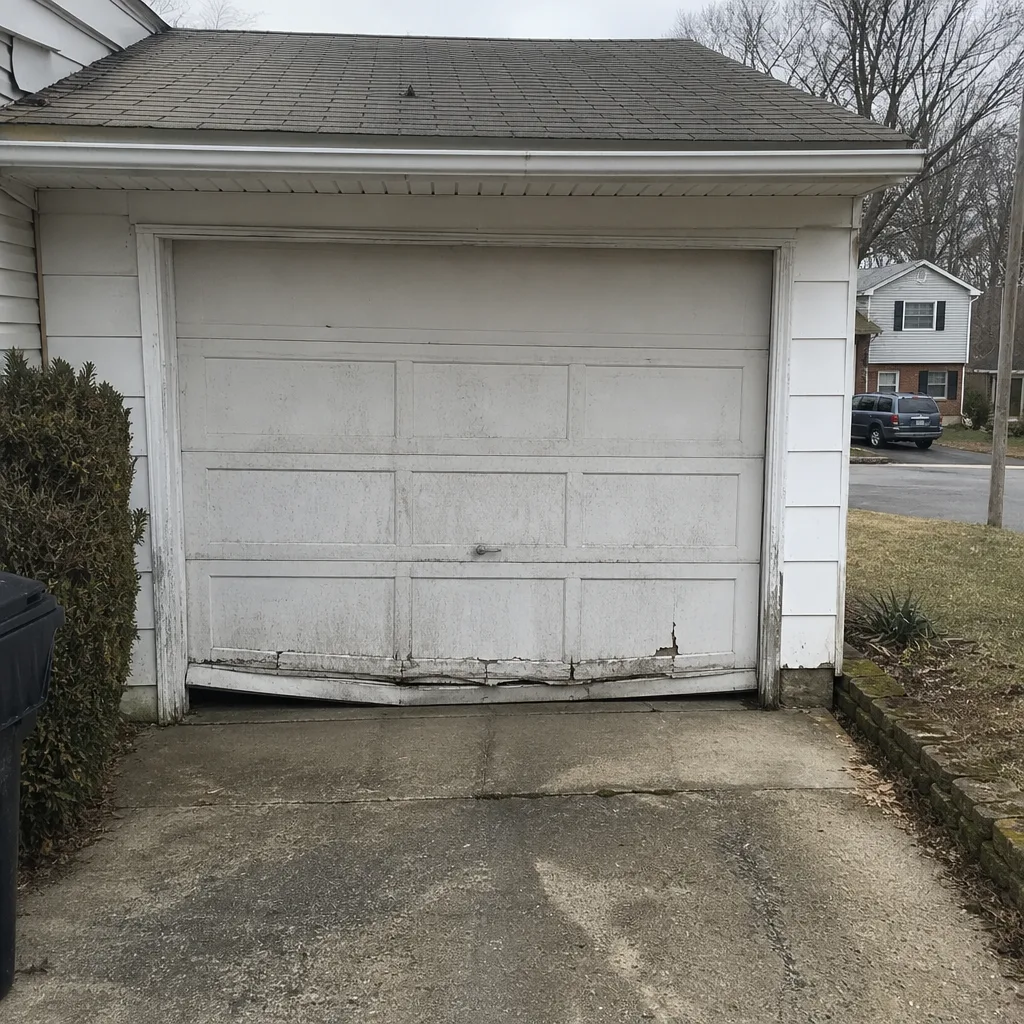 Before
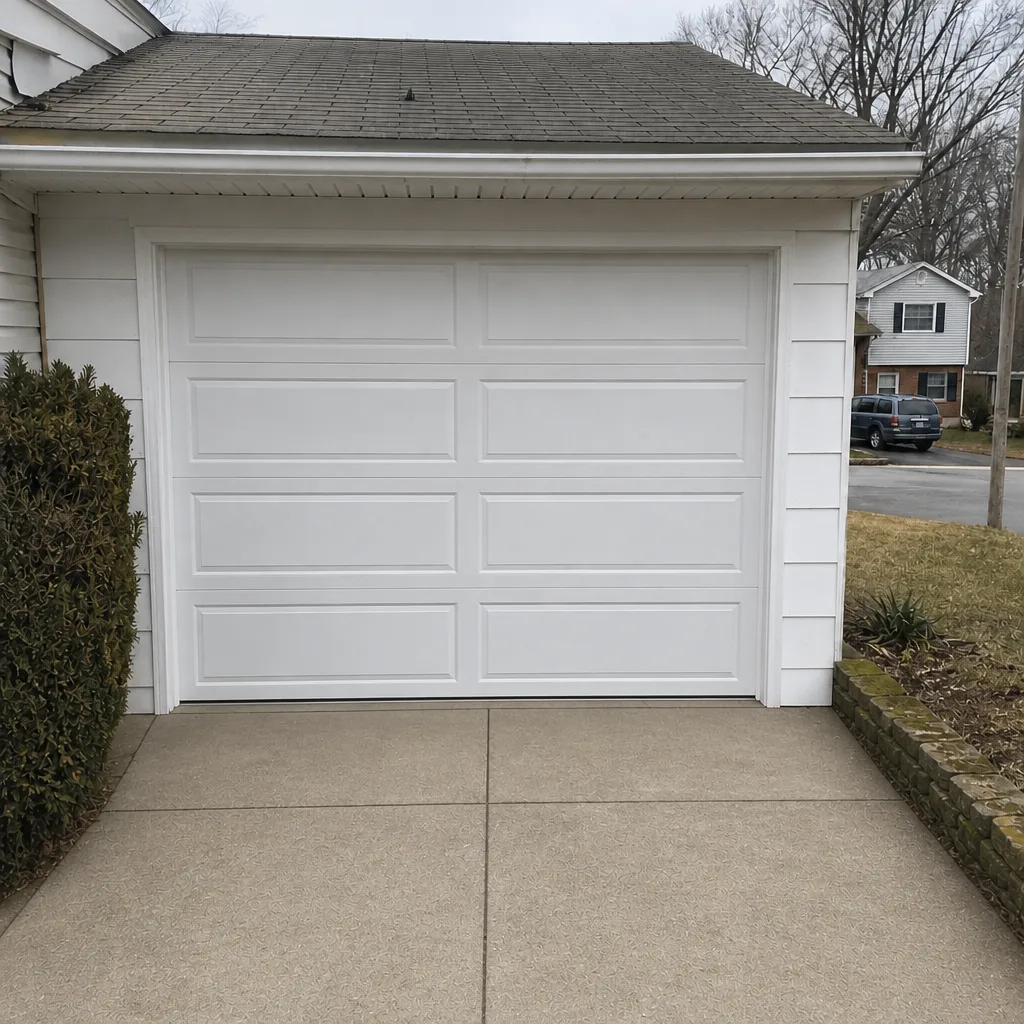 After
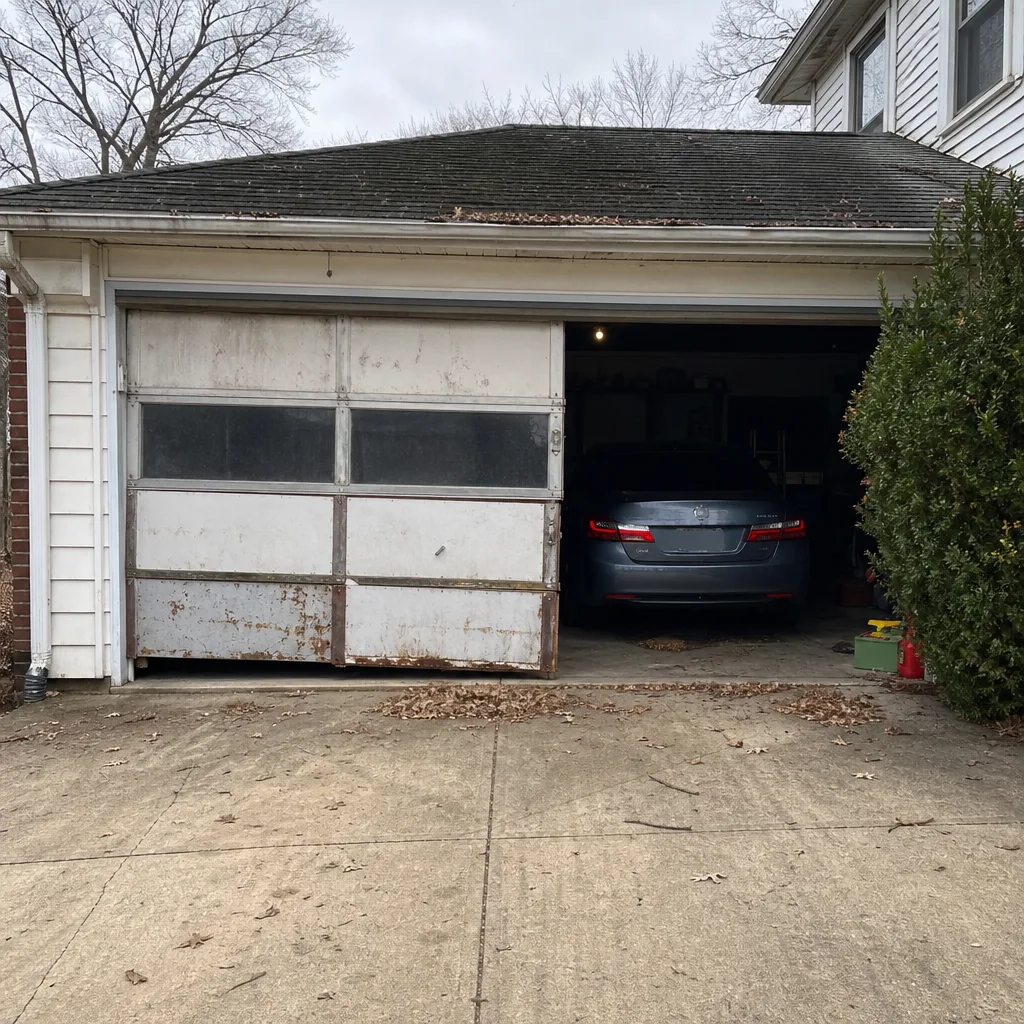 Before
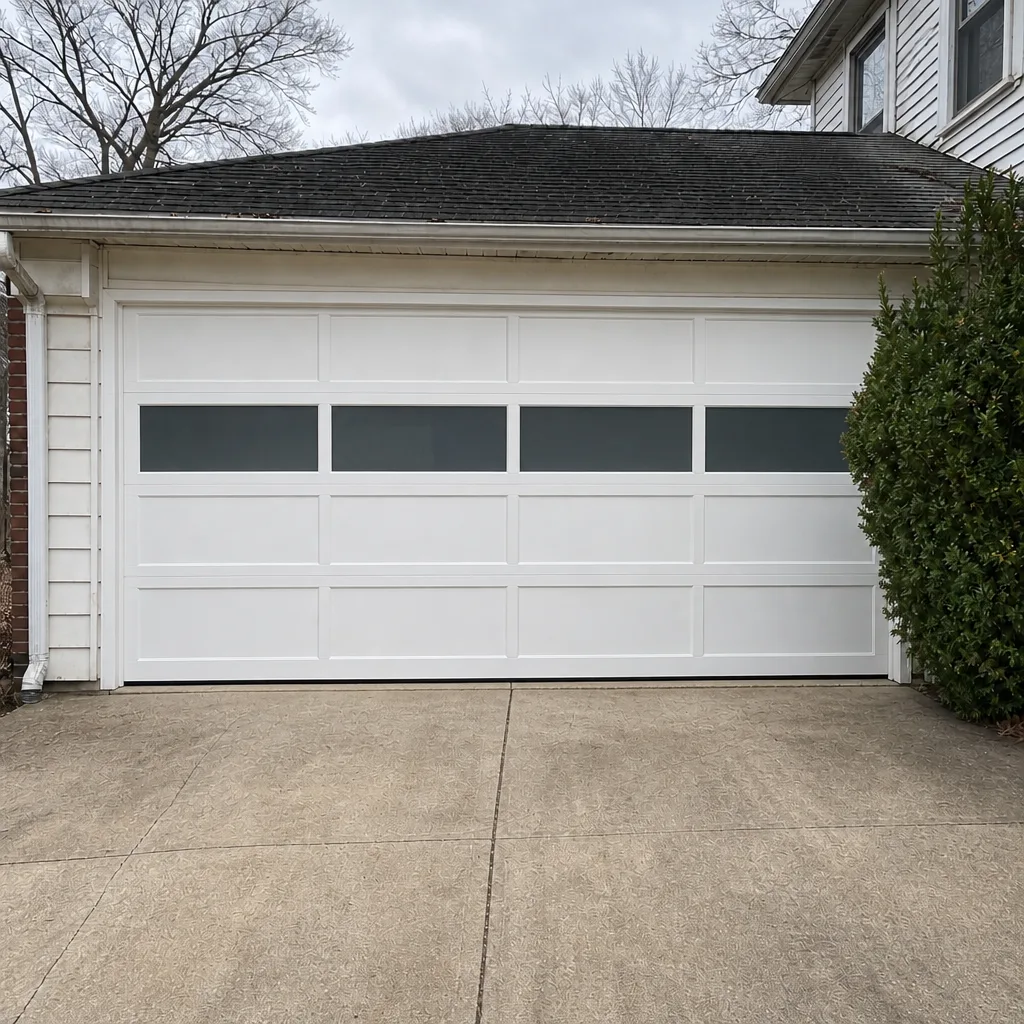 After
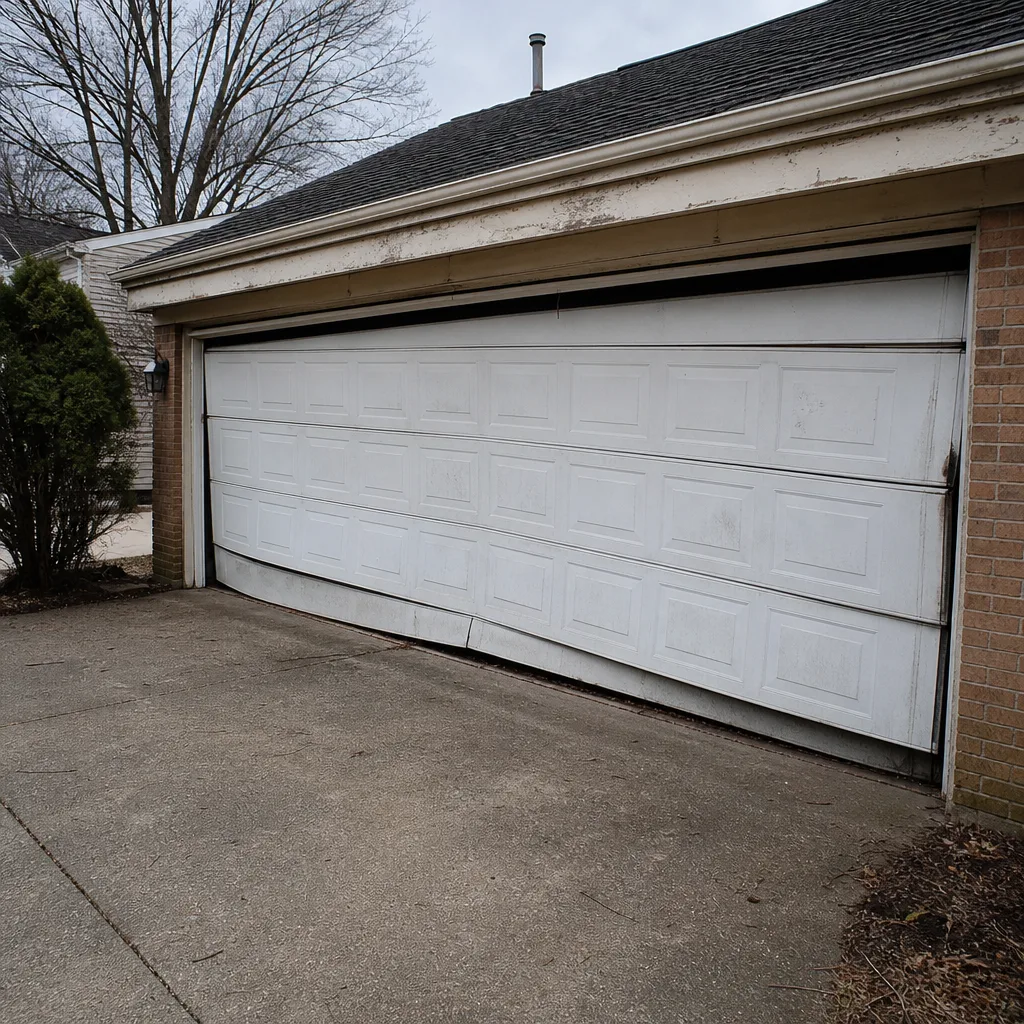 Before
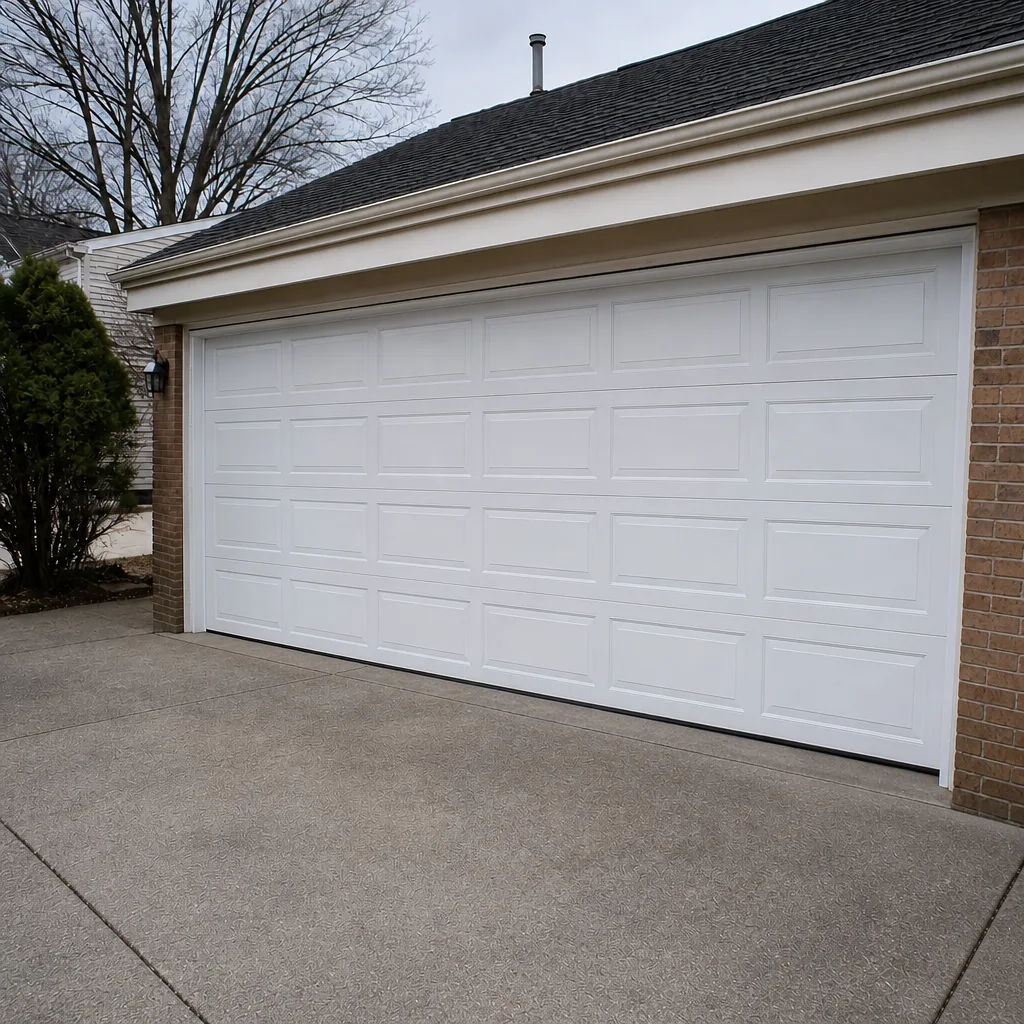 After
Frequently Asked Questions
No, replacing torsion or extension springs is a professional-only task. Wound springs store enough energy to cause serious injury, and a first-time DIY replacement often leaves the door unbalanced, which is its own safety hazard. Call (855) 337-2016 for a free estimate on spring replacement.
Maryland doesn’t have a standalone garage door contractor license, but it does regulate electrical work connected to the door, so any new wiring from the breaker panel to the opener requires a licensed electrician. Simple plug-in opener work and mechanical garage door repair typically don’t require a state license, but it’s worth confirming the specific scope with the state and your local building department. Call (855) 337-2016 for a free estimate.
Self-installed structural work that wasn’t permitted or done by a licensed contractor can give an insurer grounds to deny a related claim. If you’re doing anything beyond weatherstripping or sensor alignment, that risk is worth weighing before you start. Call (855) 337-2016 for a free estimate before you take on the job.
Weatherstripping, photo-eye alignment, lubrication, remote reproamming, and visual inspection are all safe DIY tasks. They’re also the tasks with the highest return on time spent. Call (855) 337-2016 for a free estimate if you’re unsure whether a symptom is DIY-safe or needs a technician.
It depends on the scope, so check with the Prince George’s County permit office before you begin. Spring and opener repairs typically don’t require a permit, but full door replacements or work that changes the opening’s dimensions usually do. Call (855) 337-2016 for a free estimate on installation or replacement.
Yes, we offer dedicated emergency garage door service for exactly this situation. A stuck-open door can’t be left overnight, and a broken spring blocking your car needs a fast response, so we treat emergency work as a standing offering rather than a scheduling afterthought. Call (855) 337-2016 for a free estimate and we’ll confirm the next available window.
The Bottom Line
The DIY vs professional garage door decision comes down to a component line, not a job line. Weatherstripping, sensor alignment, lubrication, and remote reprogramming are yours for the taking. Torsion springs, cable winding, structural header work, and any electrical run from the panel belong in a professional’s hands, both for safety and for legal reasons specific to Laurel and Maryland. If you’re unsure which side of that line a symptom sits on, the cheapest move is a phone call. A free estimate from a specialist costs nothing and settles the question in ten minutes.
Whether the job is a garage door repair task on the DIY-safe list or a full spring replacement, the right fix depends on a proper diagnosis of your specific system. We work on the brand you already have, from Raynor and LiftMaster to Chamberlain and Genie, and we treat spring work as the specialist repair it is. Reach out to Laurel Garage Door Repair Pros for a free estimate and a written price you agree to before any work starts.
Call (855) 337-2016 today to book a free estimate in Laurel. We’ll tell you straight whether the job is worth doing yourself or worth having a specialist handle.
Written by the team at Laurel Garage Door Repair Pros.