Last updated November 22, 2026
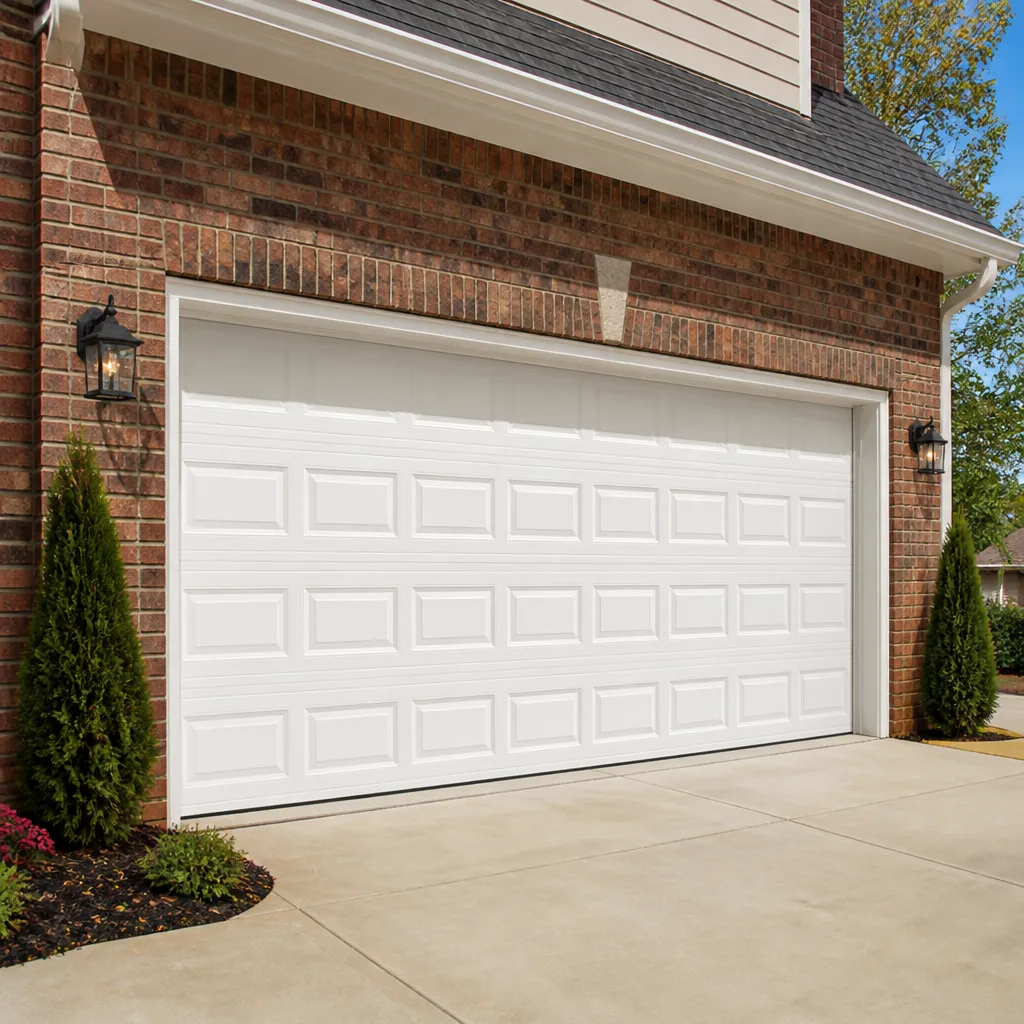 Raised-panel steel
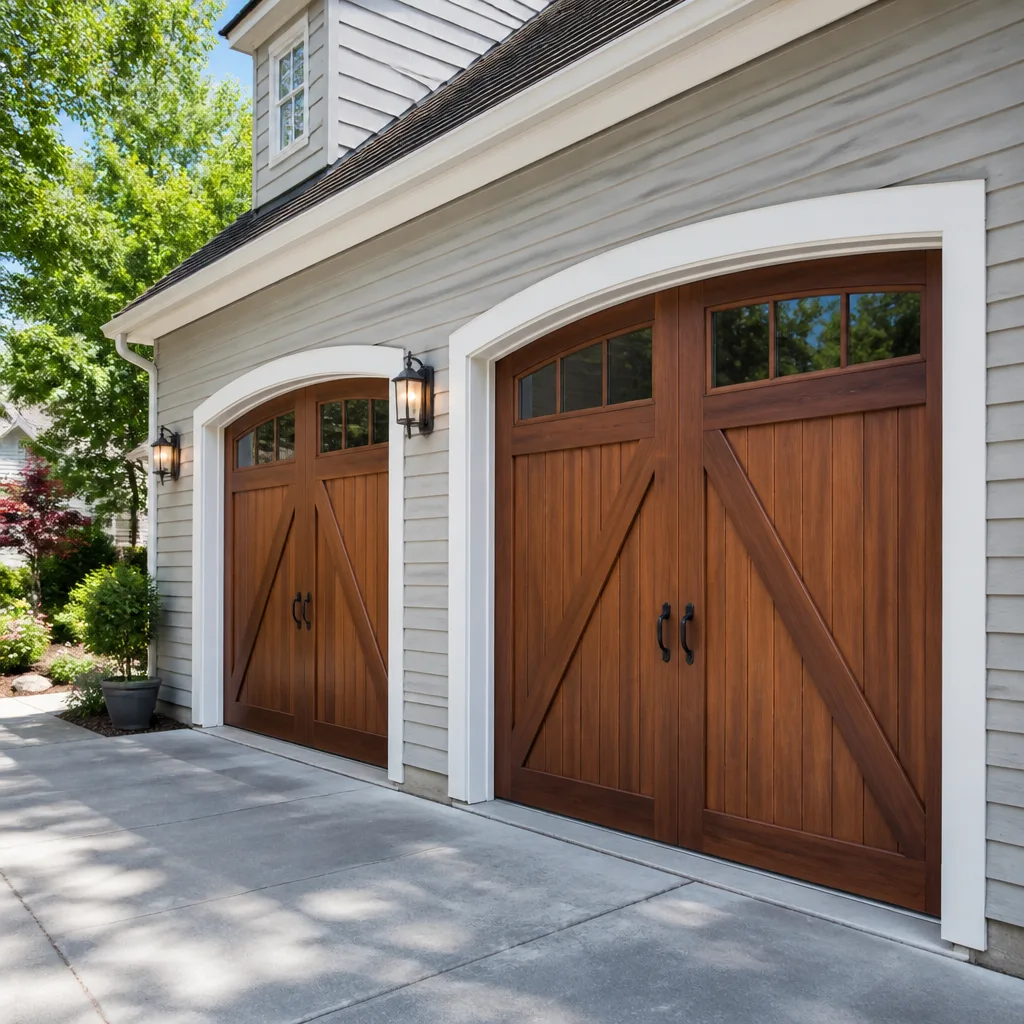 Carriage house
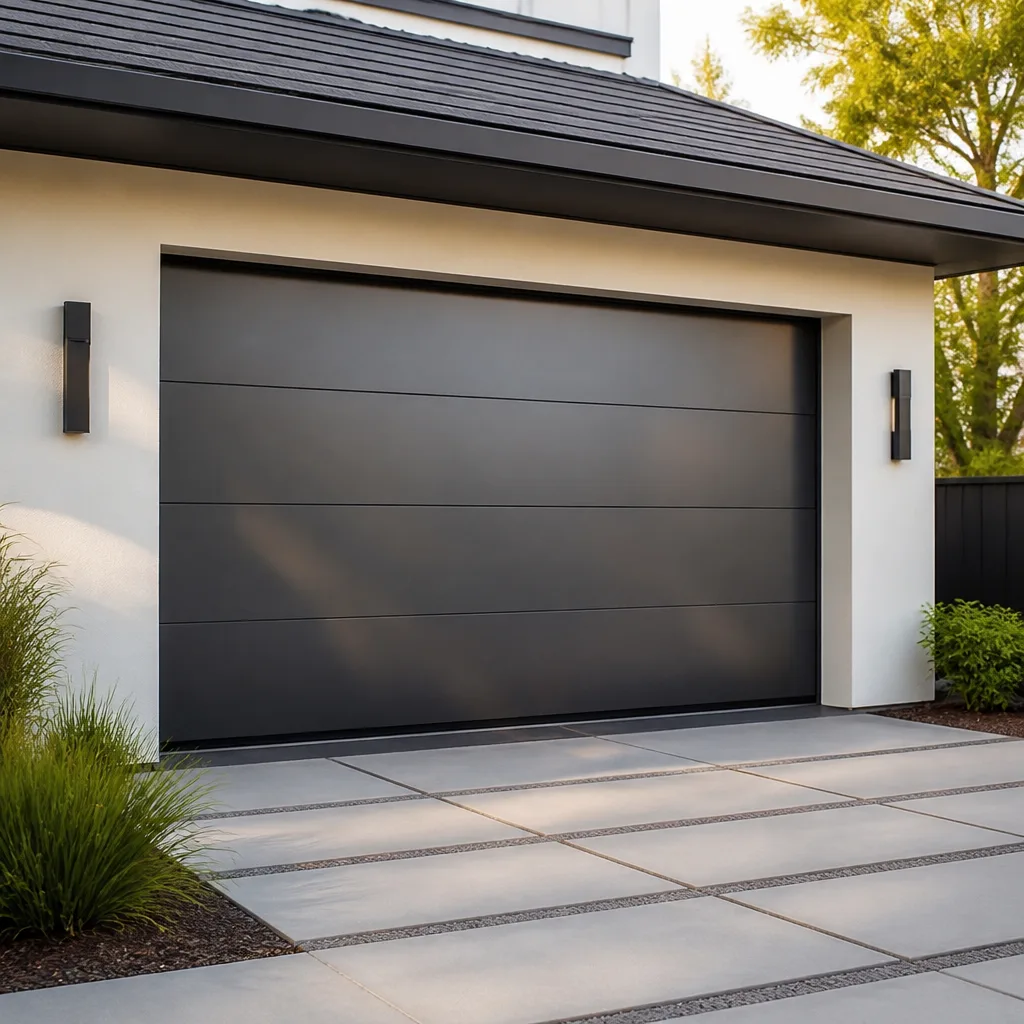 Modern flush
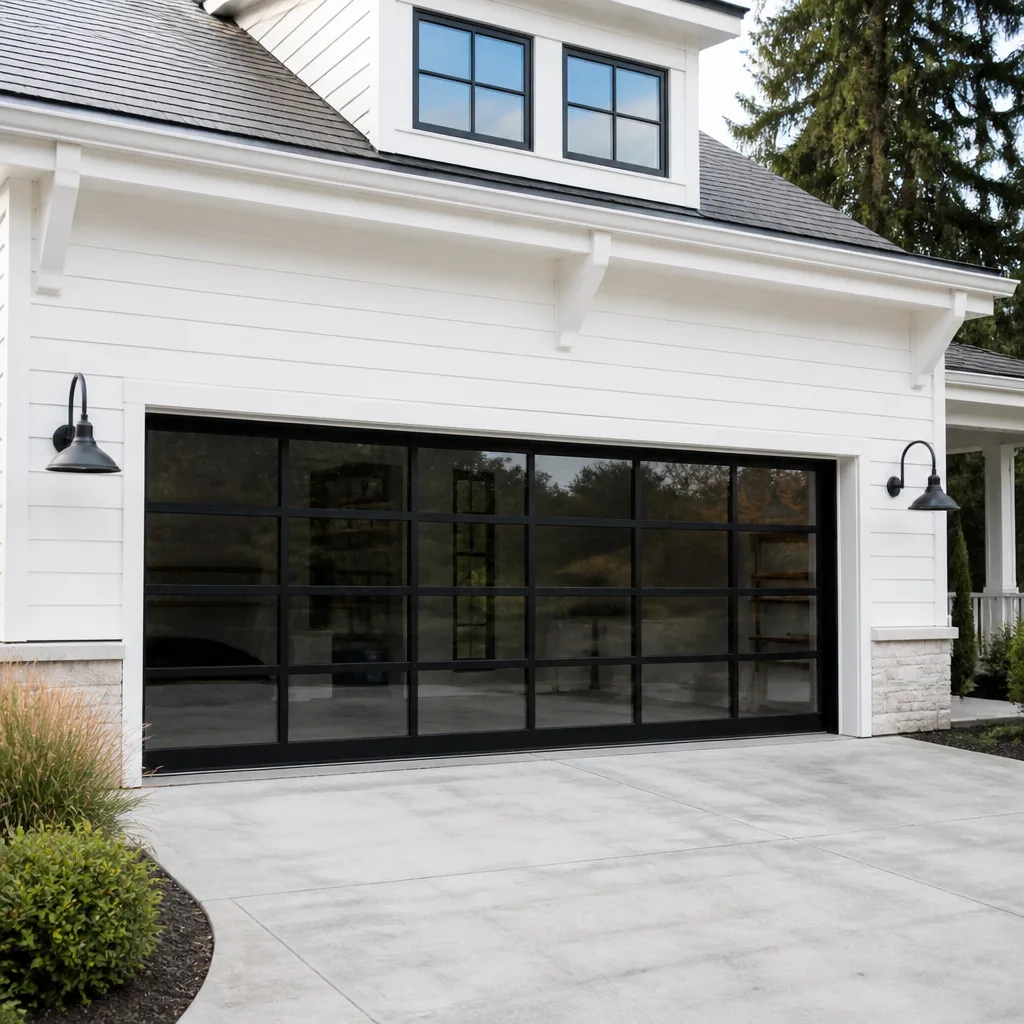 Full-view glass
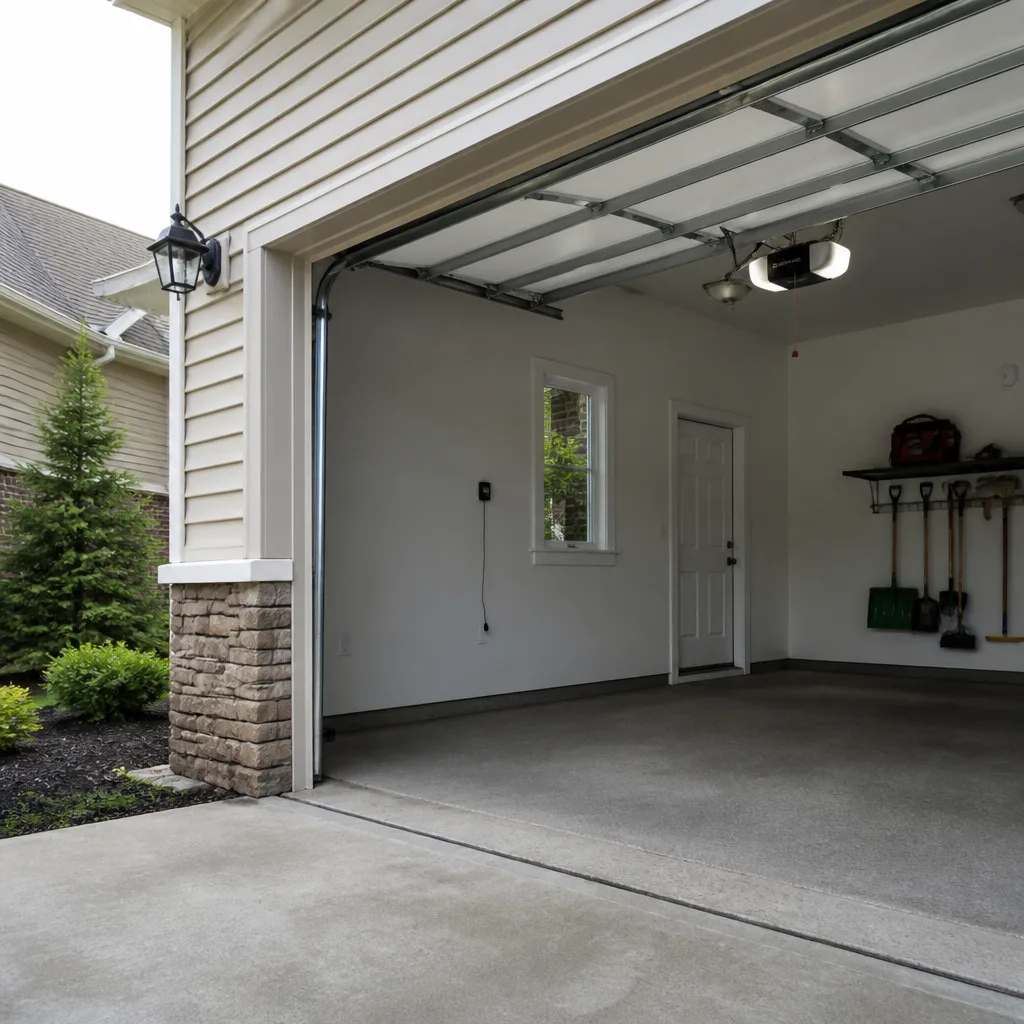 LiftMaster openers
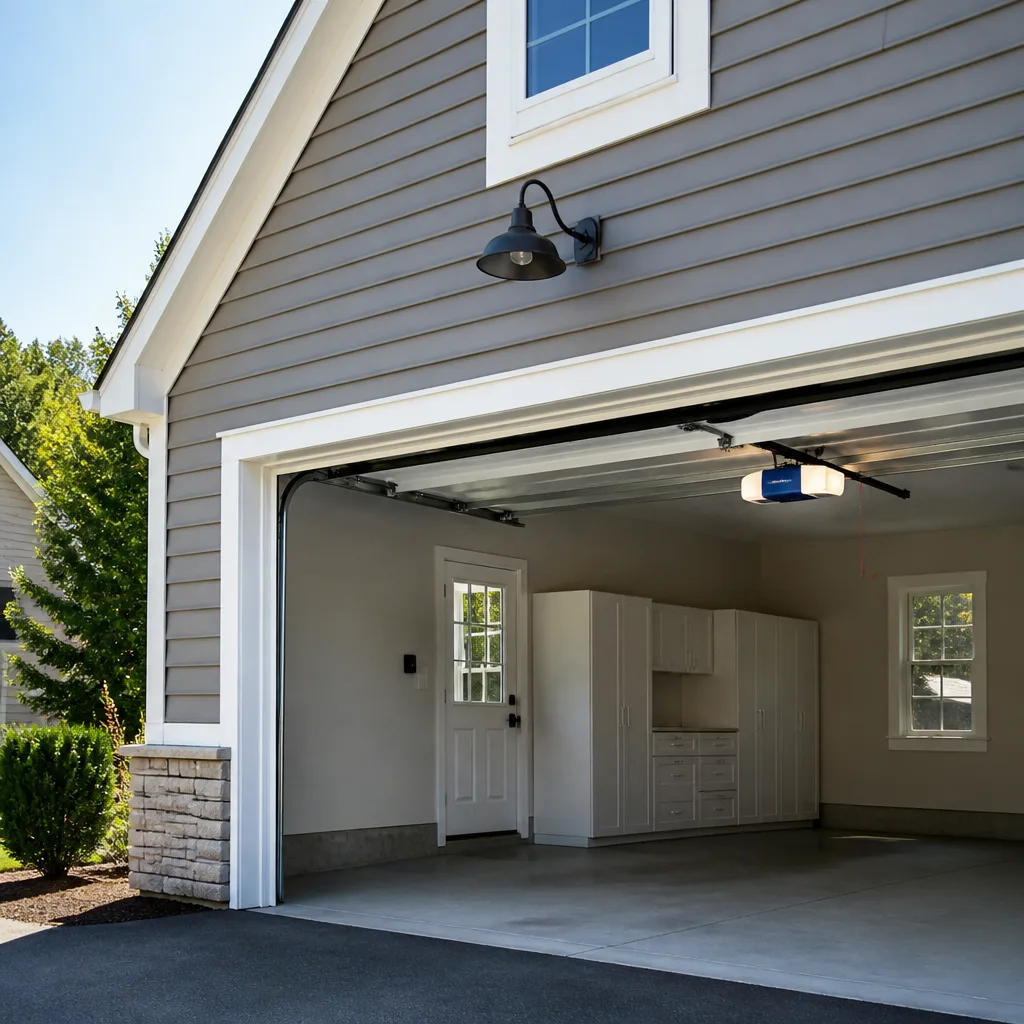 Chamberlain openers
Full 25-point door and opener safety check with every visit - springs, cables, rollers, tracks, and your LiftMaster or Chamberlain opener included
You get a price before we start. It does not change when the pro arrives.
Get your free estimateGarage Door Spring Repair Maintenance Checklist for Laurel Homeowners
A torsion spring that looks perfectly intact can be one cycle away from snapping, and when it lets go it releases enough stored energy to dent a car hood or crack a windshield. The visual walk-around most checklists describe catches only part of the story. It tells you a spring is broken. It rarely tells you one is about to break. That gap is where real spring maintenance lives, and it’s the gap this guide closes. You’ll learn how to estimate the remaining life of the actual spring on your door in Laurel, how to read the symptoms that separate a tune-up from a replacement, and how to decide whether your door is safe to run today or needs to stay shut until a specialist sees it.
Quick Answer
A useful spring maintenance checklist does three things: it estimates how much cycle life your spring has left based on wire size, coil count, and daily use rather than age alone; it distinguishes a tension adjustment you can schedule from a structurally compromised spring you shouldn’t operate; and it gives you a clear go/no-go call on whether to run the door today. In Laurel’s freeze-thaw winters, the anchor point at the top of the spring is where you should look hardest each spring.
Styles & brands we work with
- Raised-panel steel
- Carriage house
- Modern flush
- Full-view glass
- LiftMaster openers
- Chamberlain openers
Table of Contents
- How Much Life Is Left in Your Spring?
- Tension Adjustment vs. Structural Failure: Telling Them Apart
- Why Laurel’s Freeze-Thaw Winters Wear the Anchor Point
- Choosing the Right Lubricant for Galvanized Coils
- The Go/No-Go Decision Tree
- A Month-by-Month Inspection Routine
- Matching the Checklist to Your Door and Opener Brand
- When a Checklist Finding Turns Into a Repair
How Much Life Is Left in Your Spring?
A garage door spring doesn’t wear out by the calendar. It wears out by the cycle, and a cycle is one full open-and-close. A standard residential torsion spring is commonly rated for around 10,000 cycles, while heavier high-cycle springs can be rated much higher. The number that matters isn’t how old the door is. It’s how many times a day it moves and what the spring was rated for in the first place.
The reason most homeowners lose track is that two houses built the same year in the same Laurel neighborhood can have wildly different spring wear. One household opens the door twice a day. Another opens it four or five times with kids, dogs, and a work-from-home schedule. Same door, same spring, very different countdown.
Here’s how to get a working estimate of your remaining life:
- Count your daily cycles. For a week, note every time the door goes fully up and fully down. A single trip out of the driveway counts as two cycles (one up, one down).
- Estimate the spring’s rated cycles. A standard-duty spring is typically around 10,000. A high-cycle spring is rated substantially higher. If you don’t know which you have, assume the standard figure until a technician confirms it.
- Do the division. At four cycles a day, a 10,000-cycle spring gives you roughly 2,500 days, which is about seven years of use. At eight cycles a day, that same spring is gone in around three and a half years.
- Adjust for what you can see. A spring with visible gaps, a stretched coil spacing, or heavy surface rust is further along than the math suggests. Rust eats into the effective strength of the wire.
That last point is where the cycle math meets reality. Wire diameter and coil count set the spring’s strength and its rated life, but corrosion and fatigue change how it actually behaves. A spring rated for 10,000 cycles won’t reach that number if it’s been sitting in a damp, unheated garage through several Laurel winters. When you want a real measurement rather than an estimate, garage door spring repair technicians measure wire gauge and count coils to match the correct replacement before anything gets ordered.
Tension Adjustment vs. Structural Failure: Telling Them Apart
Not every problem spring needs to be replaced, and not every spring that still holds the door is safe. The distinction comes down to whether the spring has lost adjustment or lost integrity. Those are two very different diagnoses, and they lead to two very different responses.
A tension problem means the spring is structurally sound but not balanced against the door’s weight. The door may feel heavy on the way up, drift down on its own, or need a nudge to close. The spring is intact. It’s just set wrong, or the door’s weight has changed slightly. This is a maintenance task.
A structural problem means the metal itself is failing. You’ll see one or more of these:
- A visible gap or separation in the coil, even a hairline one. That spring is broken, full stop.
- A stretched section where coil spacing has opened up noticeably compared with the rest of the spring.
- Heavy rust pitting or flaking along the wire, especially near the ends.
- A door that slams down hard or won’t stay up at all, paired with a spring that looks physically deformed.
Here’s the safe way to tell them apart. Don’t touch the spring. Test the door by hand with the opener disconnected, lifting it to about waist height and letting go. A balanced door holds its position. A door that drops is a balance problem that may be adjustment or may be a spring losing strength, and you can’t safely determine which by feel alone. Anything beyond that test is a job for a trained technician. Torsion springs store lethal energy, and the winding procedure is one of the most dangerous tasks in the trade. If you suspect structural failure, treat it as a replacement and don’t operate the door. For anything that isn’t clearly broken but isn’t clearly right either, garage door repair starts with diagnosis, not a guess.
Why Laurel’s Freeze-Thaw Winters Wear the Anchor Point
Laurel sits in a climate that swings across the freezing line repeatedly through winter. Days warm enough to melt snow and ice, nights cold enough to refreeze. That cycle does specific damage to a specific part of your garage door system: the anchor point at the top of the torsion spring, where the spring’s force transfers into the shaft and the surrounding metal.
Here’s the mechanism. Metal expands when it warms and contracts when it cools. Do that dozens of times a season to a component under constant tension, and the metal at the anchor fatigues faster than the coil in the middle of the spring. Moisture gets pulled into small gaps as temperatures drop, then freezes and expands, working those gaps wider. The result is that the spring can look fine along its length while the failure point is developing up top where you’re least likely to look.
Each spring, make a point of inspecting these spots:
- The anchor plate and the fasteners holding it. Look for rust trails, loose bolts, or any movement in the bracket when the door runs.
- The cable drums at each end of the shaft. Cables should be wound evenly with no fraying or slack.
- The winding cones and set screws on the spring itself. These are where the spring grips the shaft. A loose set screw lets the spring slip, and slipping means the door loses balance suddenly.
- Any rust bloom at the base of the anchor plate. Rust at a stress point is a warning sign, not cosmetic.
If anything at the anchor looks wrong, don’t run the door while you decide what to do. A failure at that point releases the full stored force of the spring at once. This is exactly the kind of inspection where an experienced eye earns its keep. Our technicians have up to 10 years of experience with spring systems and know what a Laurel freeze-thaw anchor should look like after a hard winter versus one that’s developing a problem.
Choosing the Right Lubricant for Galvanized Coils
Lubrication is the one maintenance task most homeowners get wrong, and the mistake is often in the product, not the effort. Springs are metal under constant stress, and what you put on them either protects that metal or quietly works against it.
Many newer springs have a galvanized finish, a zinc coating that’s there to resist rust. That coating doesn’t get along with every lubricant. Products that are solvent-heavy or that dry to a sticky film can degrade the zinc over time, trapping grit and moisture against the coil instead of sealing it out. The result is faster corrosion at exactly the surface you were trying to protect.
What to reach for:
- A purpose-made garage door lubricant or a clean, non-sticky synthetic grease designed for high-stress metal parts. These stay where you put them without gumming up.
- Light, even coverage on the coils rather than a heavy coat. You want a film, not a buildup.
- The same treatment on hinges, rollers, and the opener’s chain or screw drive, though those take different products than the spring. A spring lubricant on a roller is a waste; a roller lubricant on a spring can attract dust.
What to avoid:
- General-purpose household oils that break down quickly and leave residue.
- Anything in an aerosol that goes on wet and stays tacky.
- Heavy greases that turn into a grit magnet in a dusty garage.
Lubricate a couple of times a year, and always after a stretch of cold weather when the door’s been working harder. If you’re not sure what finish your springs have, a technician can tell you at the same visit as a balance check. A quick look at the opener driving the door is worth pairing with this, since a straining opener and an under-lubricated spring often show up together. That’s a conversation for garage door opener repair if the opener is the weak link.
The Go/No-Go Decision Tree
This is the part most checklists leave out: what to actually do with what you find. Here’s how to translate an inspection into a decision, ranked by urgency.
- Do not operate the door today if you see any of these: a visible gap or break anywhere in the spring, a door that drops hard with the opener disconnected, a cable that’s come off a drum, or obvious damage at the anchor plate. Shut the door by hand if it’s open, leave it down, and call a specialist. Do not try to wind, unwind, or “test” the spring.
- Schedule a repair before the end of the week if you see: a door that won’t stay up on its own but doesn’t drop, one spring of a matched pair that looks newer than the other (meaning one was replaced alone), heavy rust with no visible break, or an opener that strains audibly on the way up. The door works, but you’re on borrowed time.
- Monitor next month and re-check if you see: light surface rust that wipes away, uneven coil spacing that hasn’t changed since last time, or a door that’s a little noisier than it used to be. These are early signals. Write down the date, check again in 30 days, and call if it progresses.
- All clear if: the door balances when you test it by hand, the spring looks uniform along its length, the anchor is tight with no rust bloom, and nothing sounds different from last season. Lubricate and move on.
The hardest call is the spring that looks fine but is past its cycle estimate. Cycle math plus a clean visual is a reasonable “monitor” reading. Cycle math plus rust or uneven spacing is a replacement, even with no visible break. When in doubt, err toward having someone qualified look at it. A free estimate costs you nothing but a phone call.
A Month-by-Month Inspection Routine
Springs don’t need a deep inspection every month, but a light routine keeps you ahead of surprises. Here’s a rhythm that fits a Laurel household’s year.
- Every month: listen to the door. New sounds, grinding, popping, or a groan on the way up are early clues. Note them.
- Every few months: do the hand balance test with the opener disconnected. A balanced door stays put at waist height.
- Twice a year: lubricate the springs, hinges, and rollers with a proper garage door product. Early fall and early spring are natural bookends.
- Every spring (March is ideal here): do the full anchor-point inspection described above. The freeze-thaw season is just ending, and that’s when fatigue at the top of the spring shows itself.
- Every fall: check the weather seal and the door’s overall alignment before the cold sets in, and re-check the springs for anything new.
- Every few years: recalculate your cycle estimate. Your daily use may have changed, and your remaining life estimate with it.
One note on the hand test: never attempt it with the door’s opener still engaged, and never put your hands anywhere near the spring, cables, or the space between the door sections. The test is about the door’s behavior, not about getting your hands on the mechanism. If the door behaves badly, stop testing and call someone. That’s the line, and it’s worth respecting.
Matching the Checklist to Your Door and Opener Brand
Most of this checklist applies to any torsion-spring door, but the details shift with the equipment. The opener chasing your spring around matters too, since a strained opener is often the first thing you hear when a spring is weakening. We work on the brand you already have, which matters more than it sounds. A specialist who knows your specific system isn’t guessing at part numbers or compatibility.
On the opener side, we routinely service LiftMaster and Chamberlain systems, along with Genie, and on the door side we work with Clopay, Amarr, Wayne Dalton, Craftsman, and Raynor equipment. That range means the checklist you follow doesn’t change based on what got installed in your garage. What changes is the replacement part, the spring rating, and how the opener’s force settings should be left once the repair is done. A Clopay door and a LiftMaster opener need their balance checked against each other, not in isolation.
Brand familiarity also cuts down on guesswork at the estimate. When a technician recognizes the door and opener from the first look, the diagnosis moves faster and the replacement part is more likely to be right the first time. No one wants to schedule a repair, only to find out the spring on the shelf doesn’t match the door. If your equipment is older or you’re not sure what you have, that’s still workable. Tell us what you can see, and we’ll sort it out. The core checklist is universal; the fine print is where brand knowledge pays off.
When a Checklist Finding Turns Into a Repair
Some findings are maintenance. Some are repairs. The difference is usually decided by whether the spring’s structural integrity is still intact, and that’s a diagnosis a trained eye makes faster and more safely than a checklist can.
A few situations that move straight from “checklist item” to “repair job”:
- A matched pair with one broken spring. When one spring of a pair fails, the other has almost certainly logged the same cycles. Replacing the broken one alone leaves you back here soon. A pair is usually replaced together, and the cost reflects that.
- A spring that’s past its cycle estimate with any corrosion. Rust reduces the wire’s effective strength. The cycle math alone might say “monitor,” but the rust says “replace.”
- A door that’s been run on a failing spring. Running a door on a weakening spring stresses the opener, the cables, and the door’s hinges. One repair can quietly become several if you wait.
- An opener that’s maxed out its force adjustment. If someone has turned the opener’s force setting all the way up to compensate for a heavy door, the opener is masking a spring problem. Fix the spring and reset the opener.
Our role in this is simple: we’re garage door specialists, not generalists. Every technician we send is focused on this trade, so the person looking at your spring is the same person who repairs it. From a jammed spring to a full new installation, the diagnosis comes first and the fix follows it. If a checklist finding has you wondering whether it’s a spring problem or an opener problem, that’s a conversation worth having before anything gets ordered. You can start from the main page at Laurel Garage Door Repair Pros.
Common Mistakes to Avoid
- Judging spring health by age alone. Two doors installed the same year in the same Laurel neighborhood can differ by thousands of cycles based on daily use. Track cycles, not birthdays.
- Replacing one spring of a pair. If the other half of the pair has matched cycles, it’s on the same countdown. Replacing one spring means paying for the labor again soon.
- Using household oil or the wrong aerosol on galvanized coils. Some products degrade the zinc coating and trap moisture against the metal. Use a proper garage door lubricant, applied lightly.
- Skipping the anchor-point inspection in spring. In Laurel’s freeze-thaw winters, the top of the spring is where fatigue shows first. If you only check the coil, you can miss the real wear.
- Turning up the opener’s force setting to compensate for a heavy door. That masks a spring problem and strains the opener. Diagnose the spring instead of overriding it.
- Testing a suspect spring by hand. A spring under tension can release in an instant. Test the door’s balance, never the spring itself.
- Ignoring a new sound. A groan, a pop, or a grinding noise is information. Note it, then act on it. A sound that gets worse is usually a spring that’s getting weaker.
See the difference
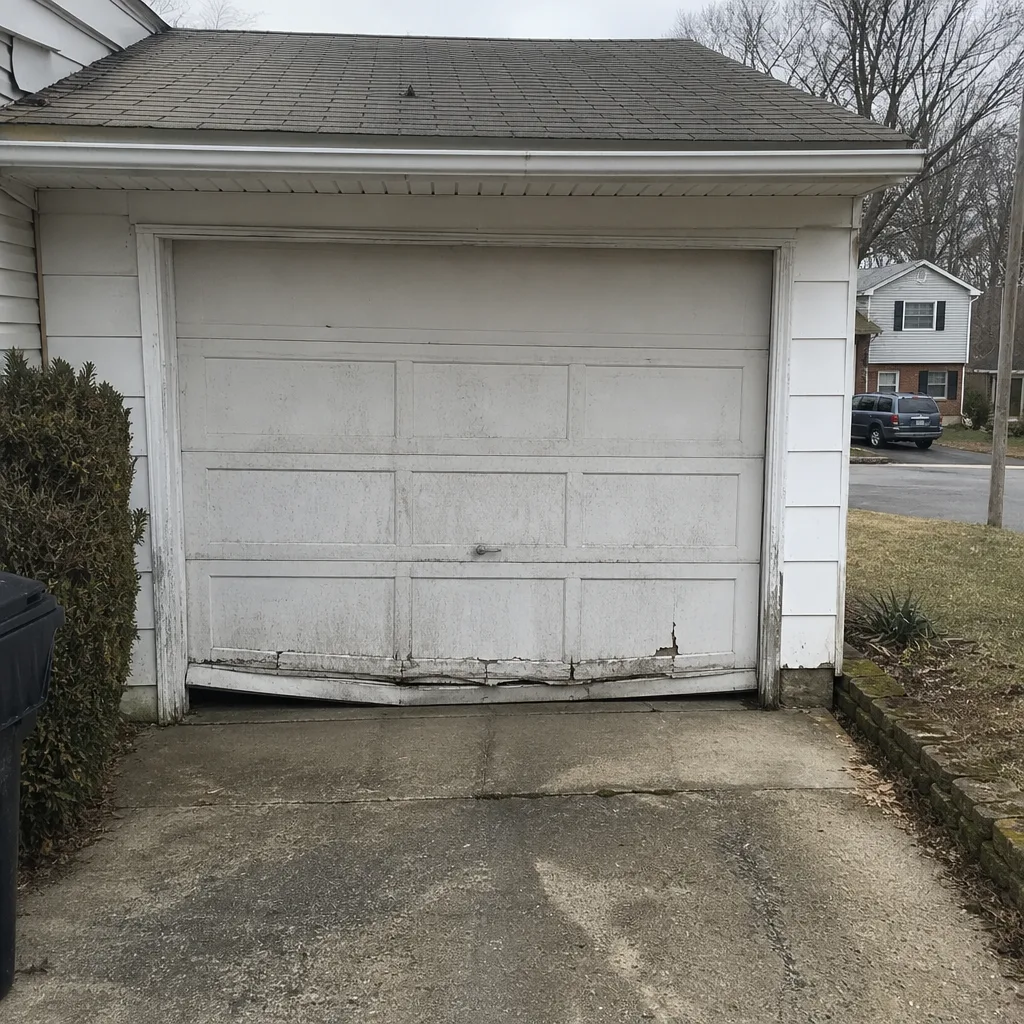 Before
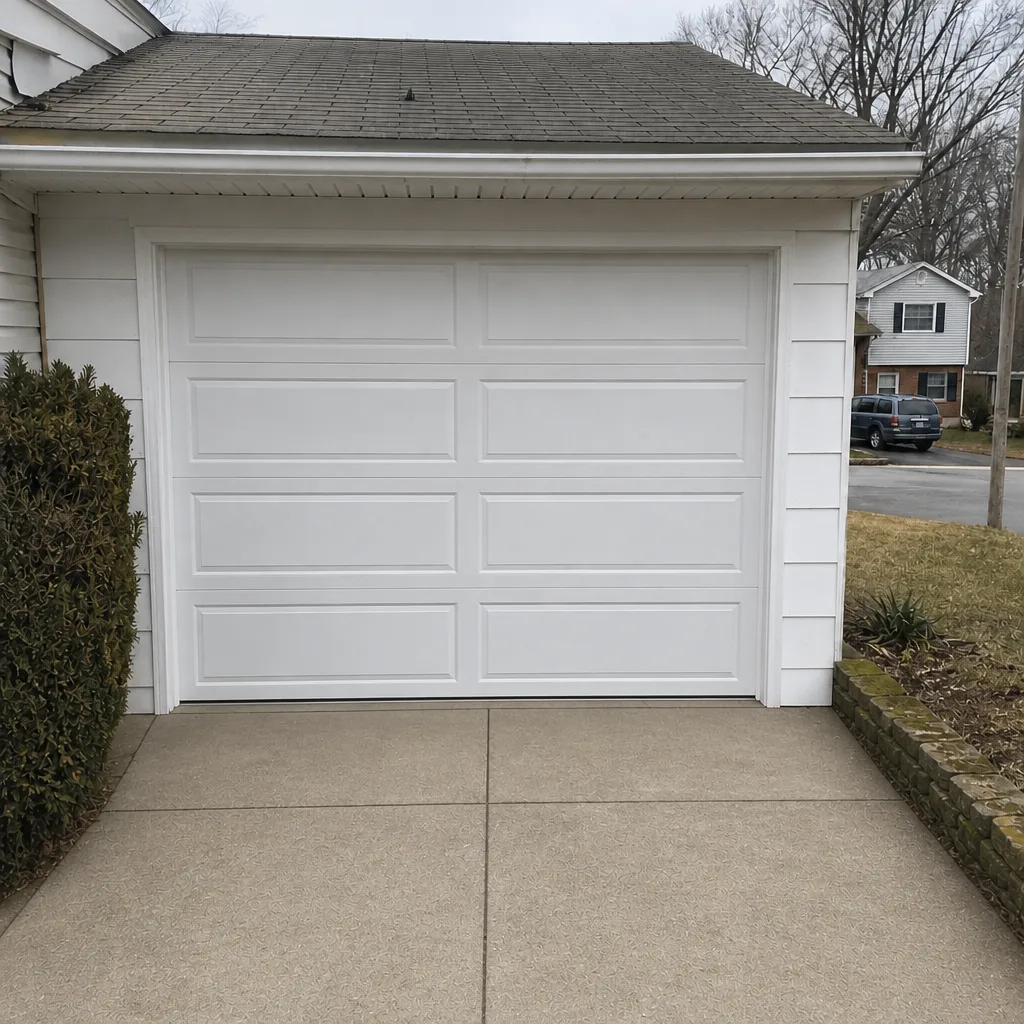 After
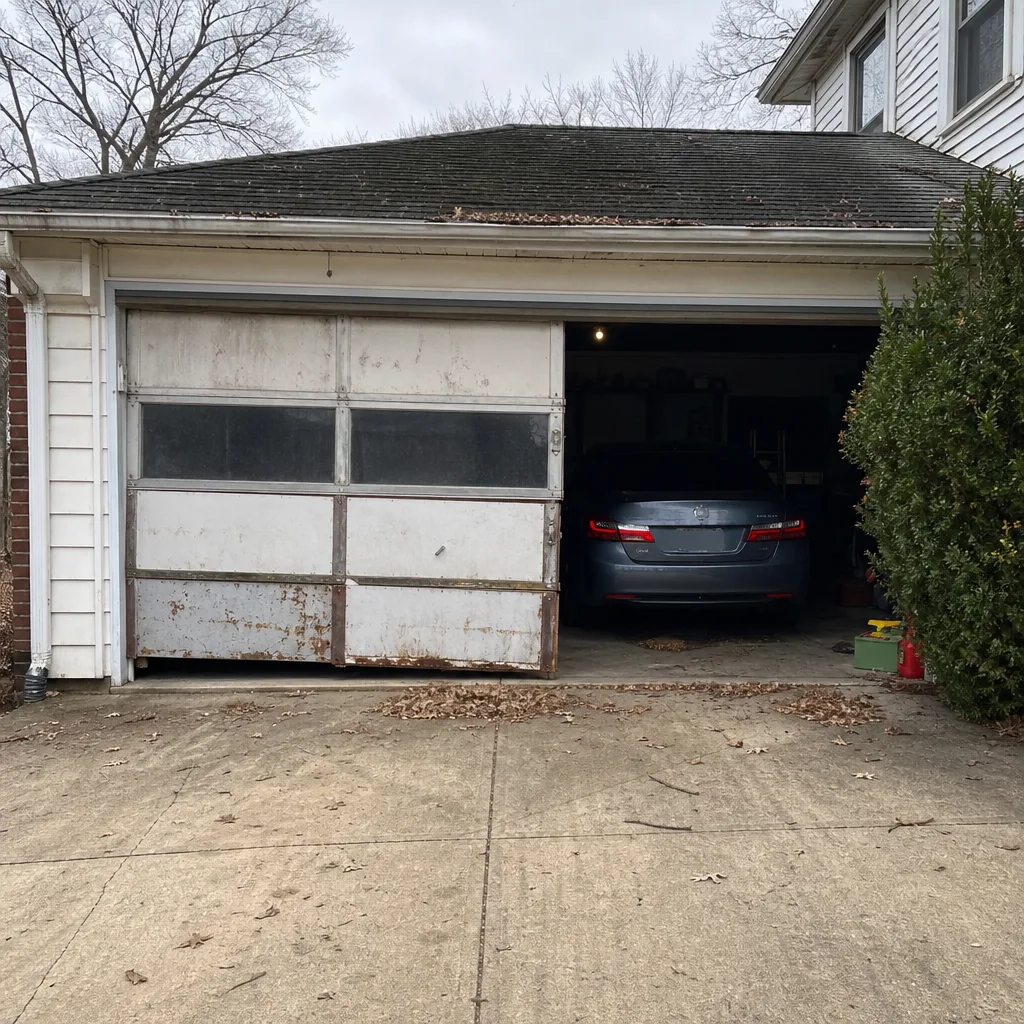 Before
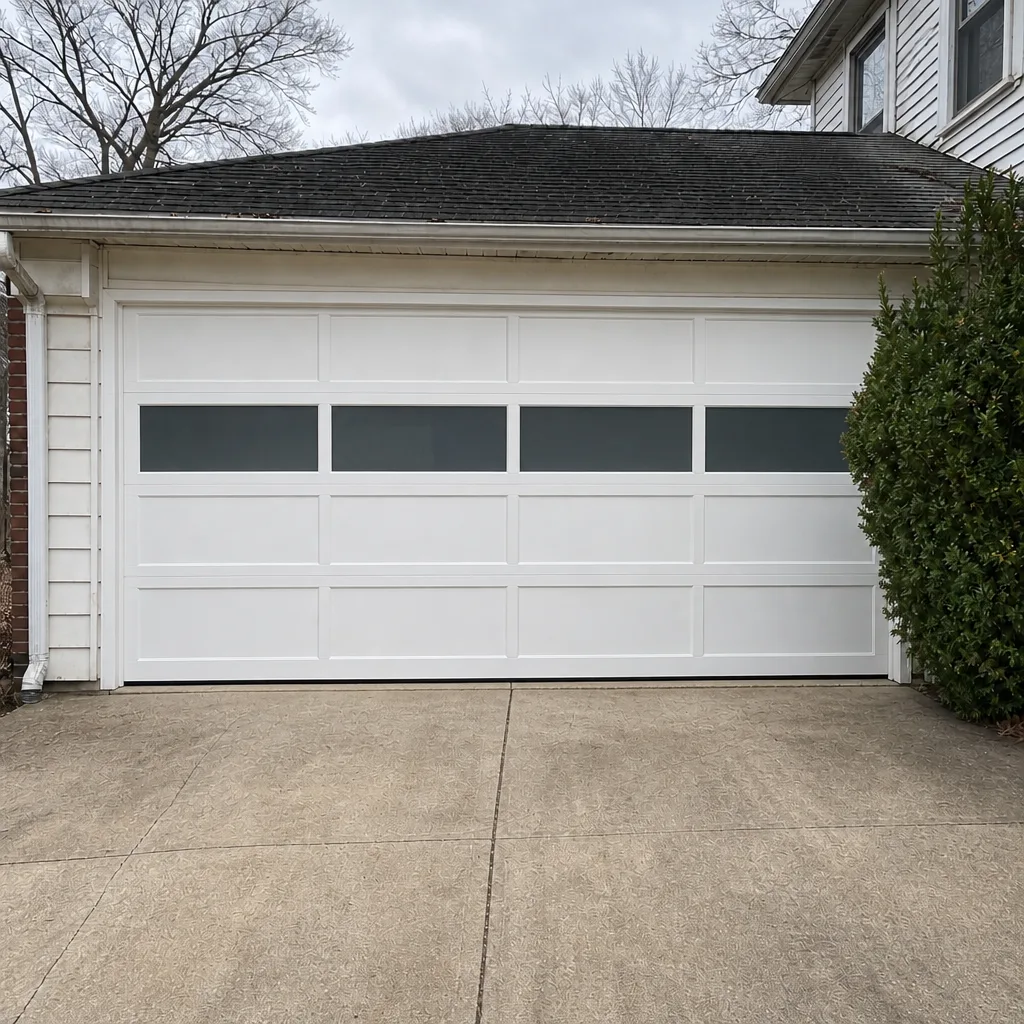 After
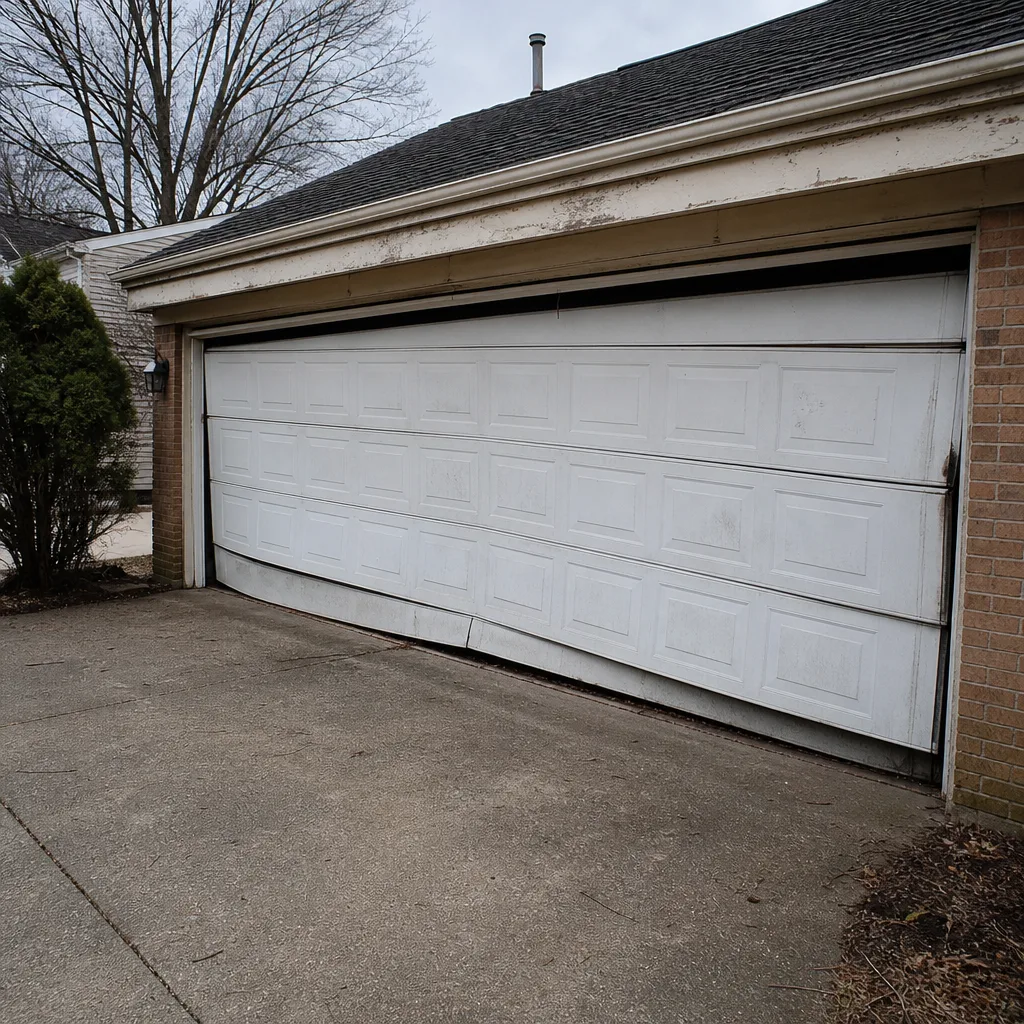 Before
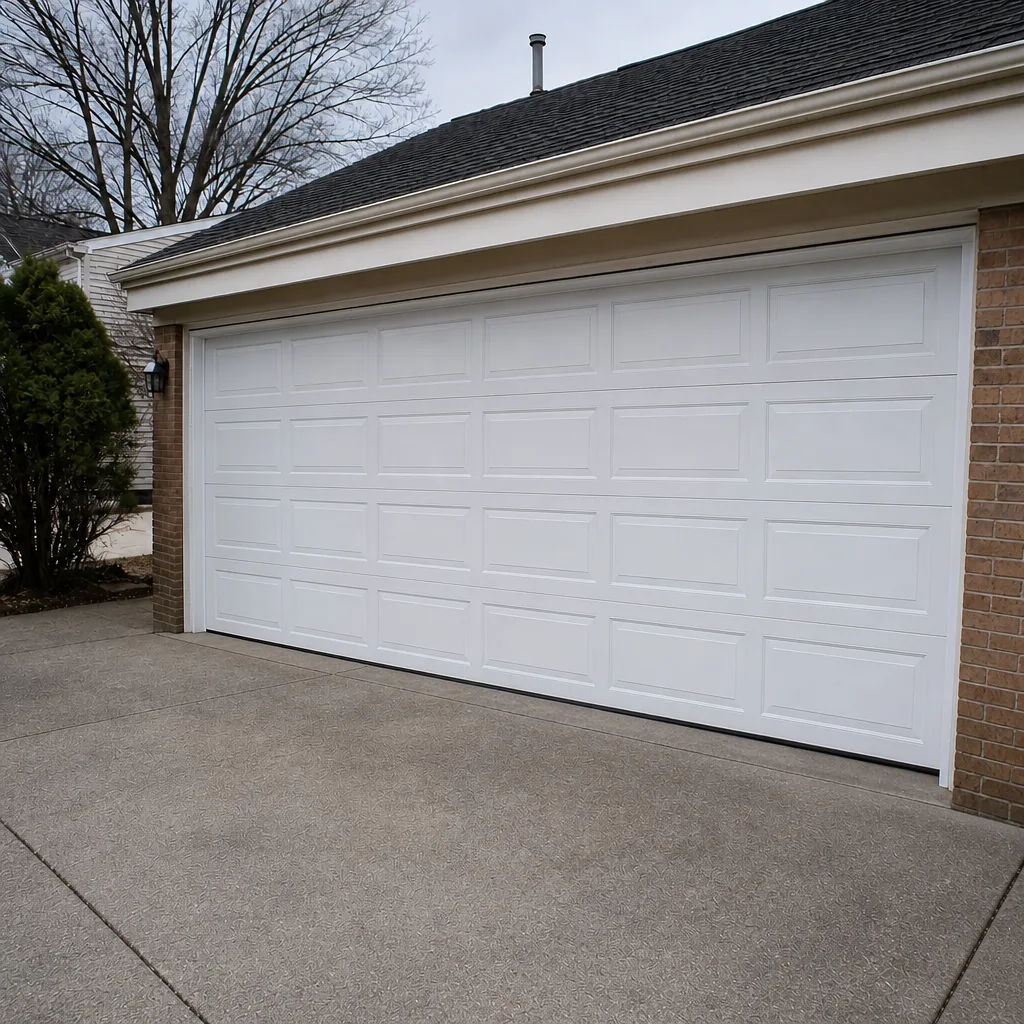 After
When to Call a Professional
Call a professional the moment you see a visible break or gap in a spring, when a door drops hard with the opener disconnected, when a cable comes off its drum, or when anything at the anchor plate looks loose or rusted through. Those are “stop operating the door” findings, not “monitor next month” findings. The same goes for a door that will not stay up on its own, a matched pair with one failed spring, or an opener that’s been turned up to compensate for a door that suddenly feels heavy. Those are jobs where a trained technician’s eye prevents a second repair and keeps the danger where it belongs: in the hands of someone qualified. Laurel Garage Door Repair Pros offers free estimates in Laurel, and we can work with your system regardless of the brand. Call (855) 337-2016 and we’ll take a look before a small problem becomes a big one.
Frequently Asked Questions
Look at your springs roughly every month and do a full anchor-point inspection every spring, ideally in March after the freeze-thaw season ends. Monthly checks catch sounds and behavior changes early; the annual deep check finds fatigue at the top of the spring where Laurel winters take the most toll. A full hand balance test belongs in the routine every few months.
Not reliably. A visual inspection catches many problems, but a spring can look intact and still be close to failing, which is why cycle math and behavior matter as much as appearance. Check for gaps, uneven coil spacing, and rust, and listen to the door. If anything looks or sounds off, stop operating the door and call a specialist rather than testing it yourself.
Usually not, because both springs in a pair typically have the same number of cycles on them. Replacing only the broken one leaves the other spring on the same countdown it was already on, and you’ll be paying for the labor a second time soon. A pair is generally replaced together.
A tension adjustment means the spring is structurally sound but not balanced against the door’s weight. A broken spring means the metal itself has failed. You can often feel a balance problem by testing the door by hand, but you cannot safely diagnose a structural problem by feel. A visible gap, stretched spacing, or heavy rust means replacement, and only a trained technician should inspect a suspect spring up close.
Laurel’s winter freeze-thaw cycles work on the anchor point where the spring’s force transfers into the door mechanism. Metal expands and contracts repeatedly, and moisture works into small gaps and freezes. That combination fatigues the anchor faster than the coil in the middle of the spring, which is why spring checks should focus on the top of the assembly after a hard winter.
Yes. A weakened spring puts extra strain on the opener, the cables, and the door’s hinges and rollers every time the door moves. That’s how one repair becomes several, and why an opener’s force setting gets turned up to compensate. If the door feels heavy or the opener is straining, call for a diagnosis before more parts get worn.
The Bottom Line
The best spring checklist isn’t a list of things to look at. It’s a way of thinking about what you’re seeing. Estimate remaining life by cycle count, not by age. Read the difference between a tension problem and a structural one, and don’t test a suspect spring by hand. Inspect the anchor point every spring, because Laurel’s freeze-thaw winters wear it hardest. Use the right lubricant on galvanized coils. Then use the go/no-go tree to decide whether to run the door today, schedule a repair, or watch for another month. When a finding crosses the line into a repair, call a specialist. A free estimate is a small thing that prevents a much larger one.
Contact
If your Laurel garage door is telling you something this checklist helped you hear, don’t wait for it to say it louder. Call (855) 337-2016 for a free estimate. We’ll diagnose the spring, explain what we find, and give you a written price before any work starts. When your garage door won’t move, we move fast.
Written by the team at Laurel Garage Door Repair Pros.